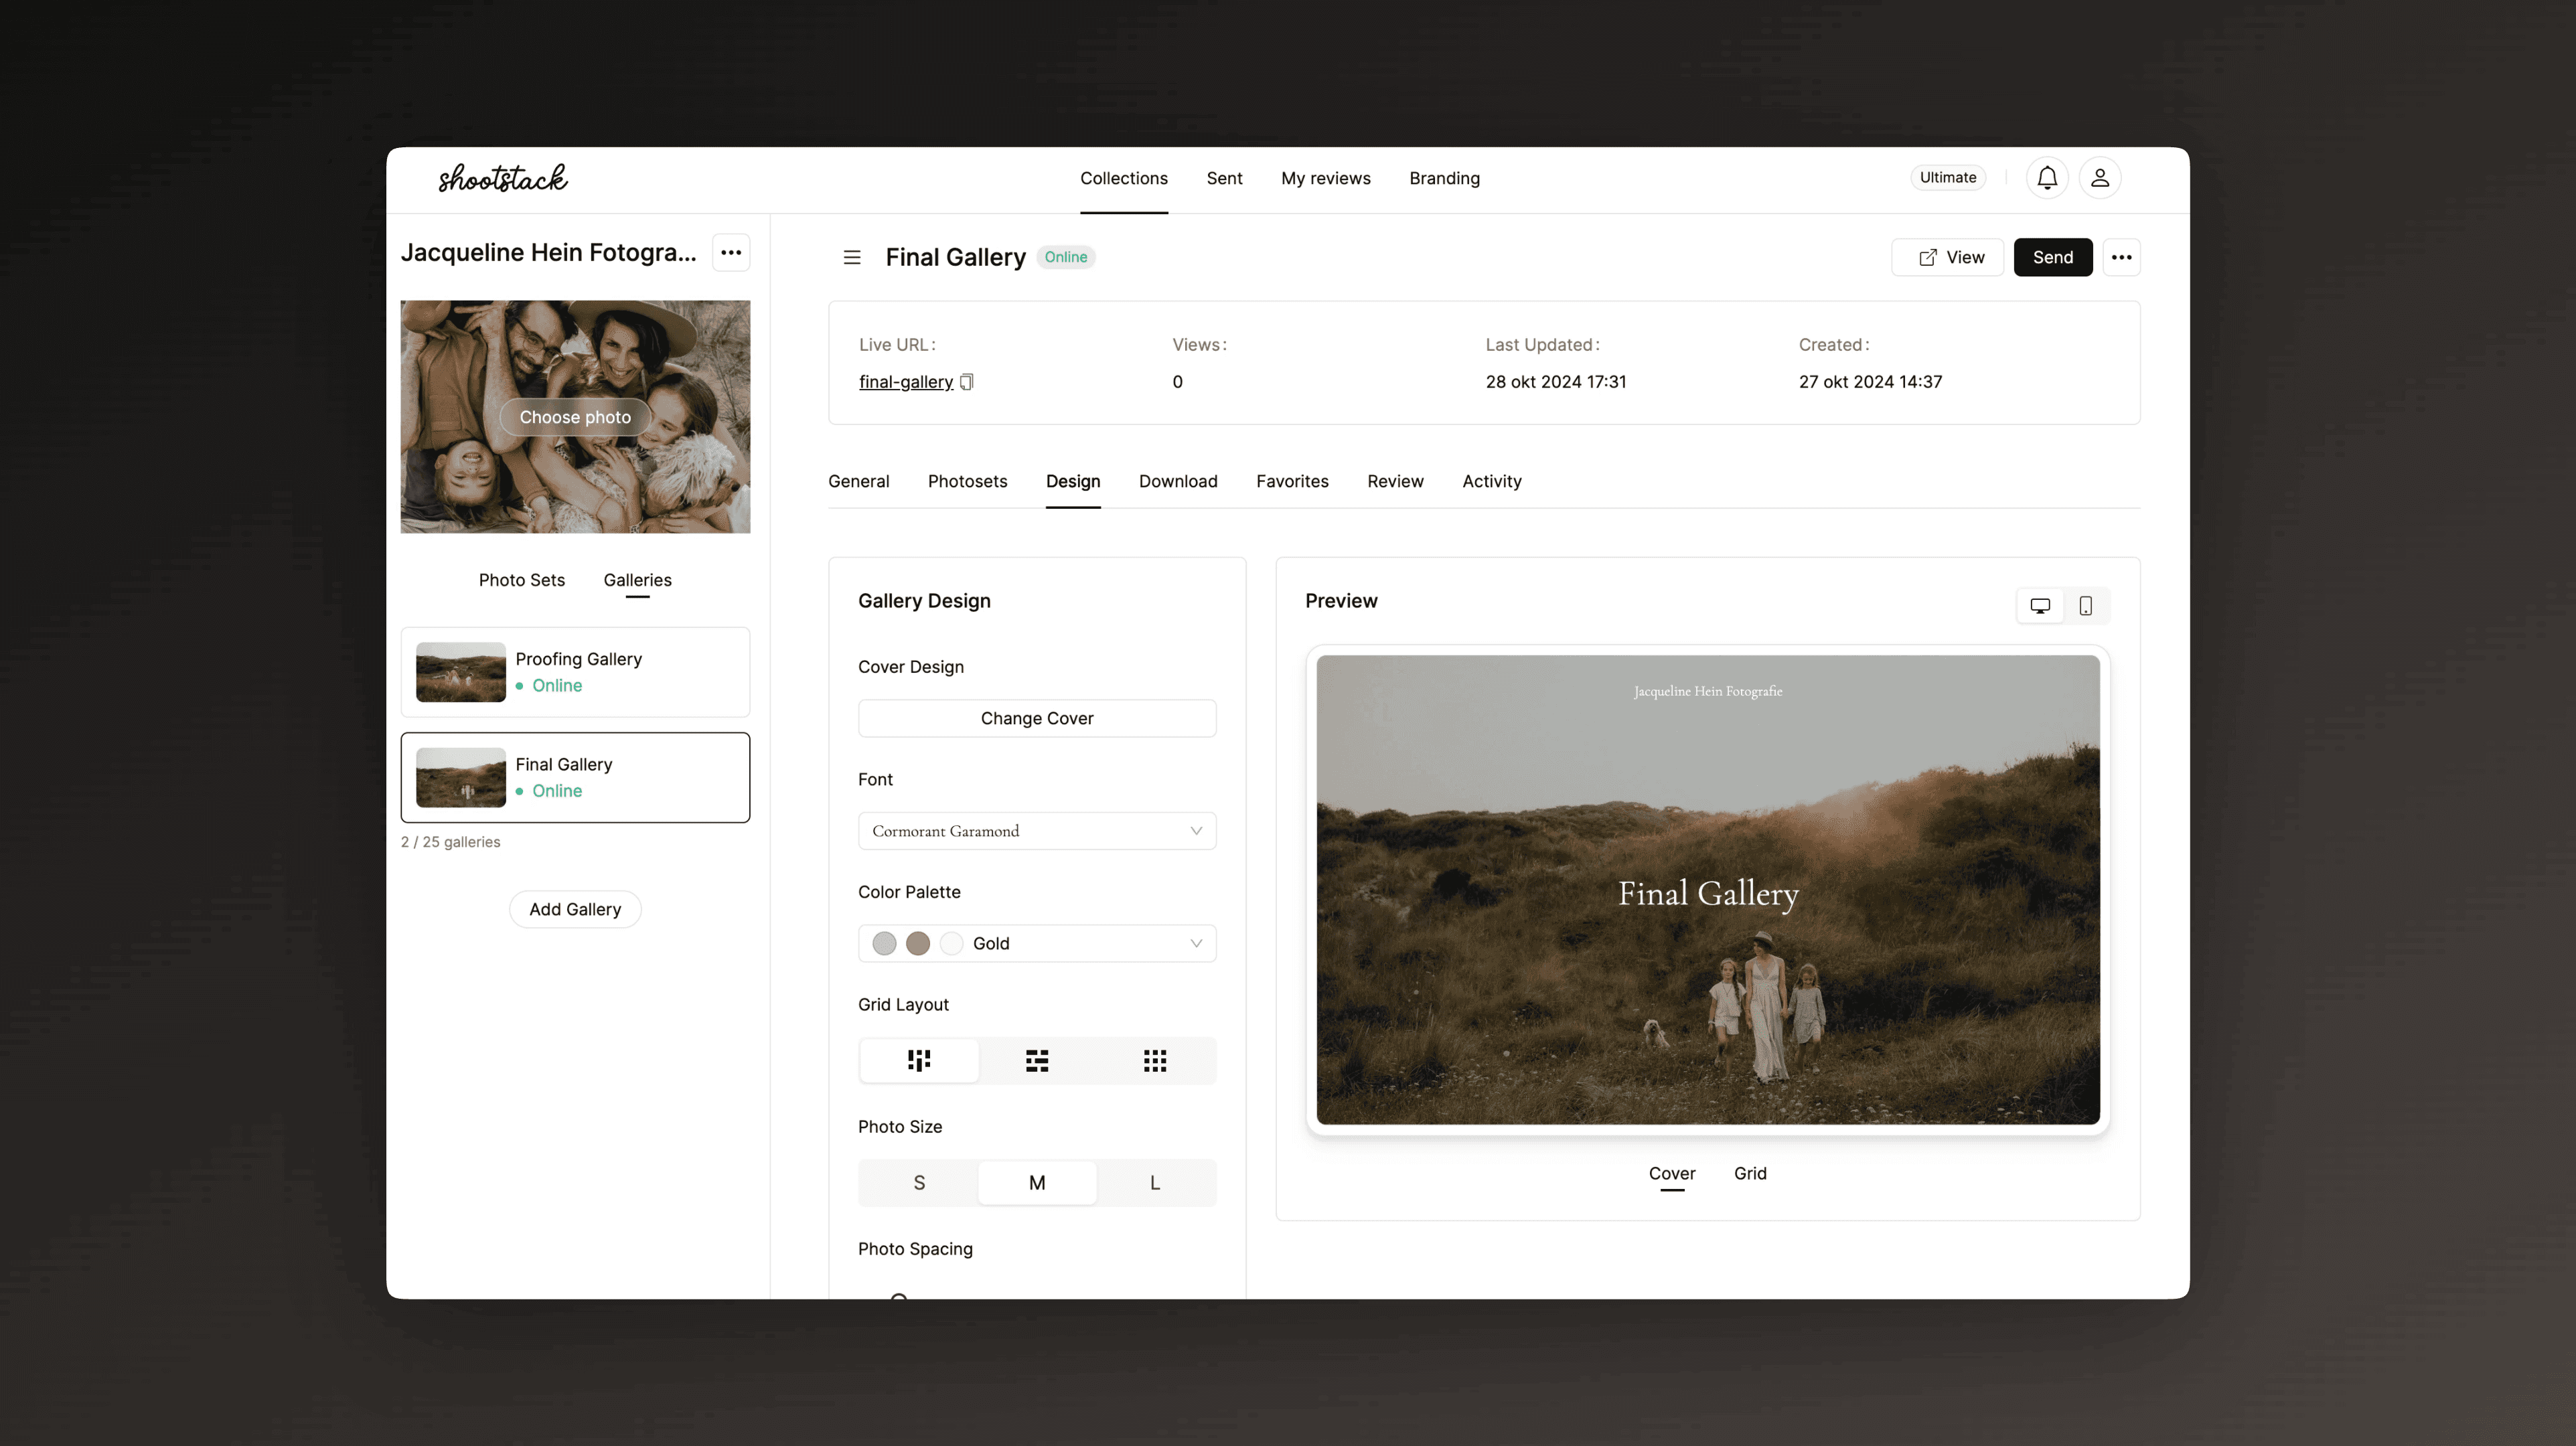
Galleries
The next step is to set up your gallery. Here you can configure general gallery settings, turn on downloads, allow clients to select favorites, enable reviews and send the gallery.
Related
Galleries
After you uploaded your photos, it's time to set up your gallery. Click on the Galleries tab next to Photo Sets to access all the gallery settings.
General
Online Visibility: Here you can make your gallery visible so your clients can access the gallery. You can customize the URL of your gallery, but note that the old URL will no longer be valid.Language: Here you can change the language of your gallery. We support English, Dutch, French, and German.Password Protection: You have the option to add a password to your gallery. We recommend doing this to ensure that only your clients have access to view their photos.Auto Offline: You can set a date for your gallery to automatically go offline. The gallery will not be deleted, but customers will no longer have access. When setting this date, always clearly communicate to your clients until when they will have access to the gallery.
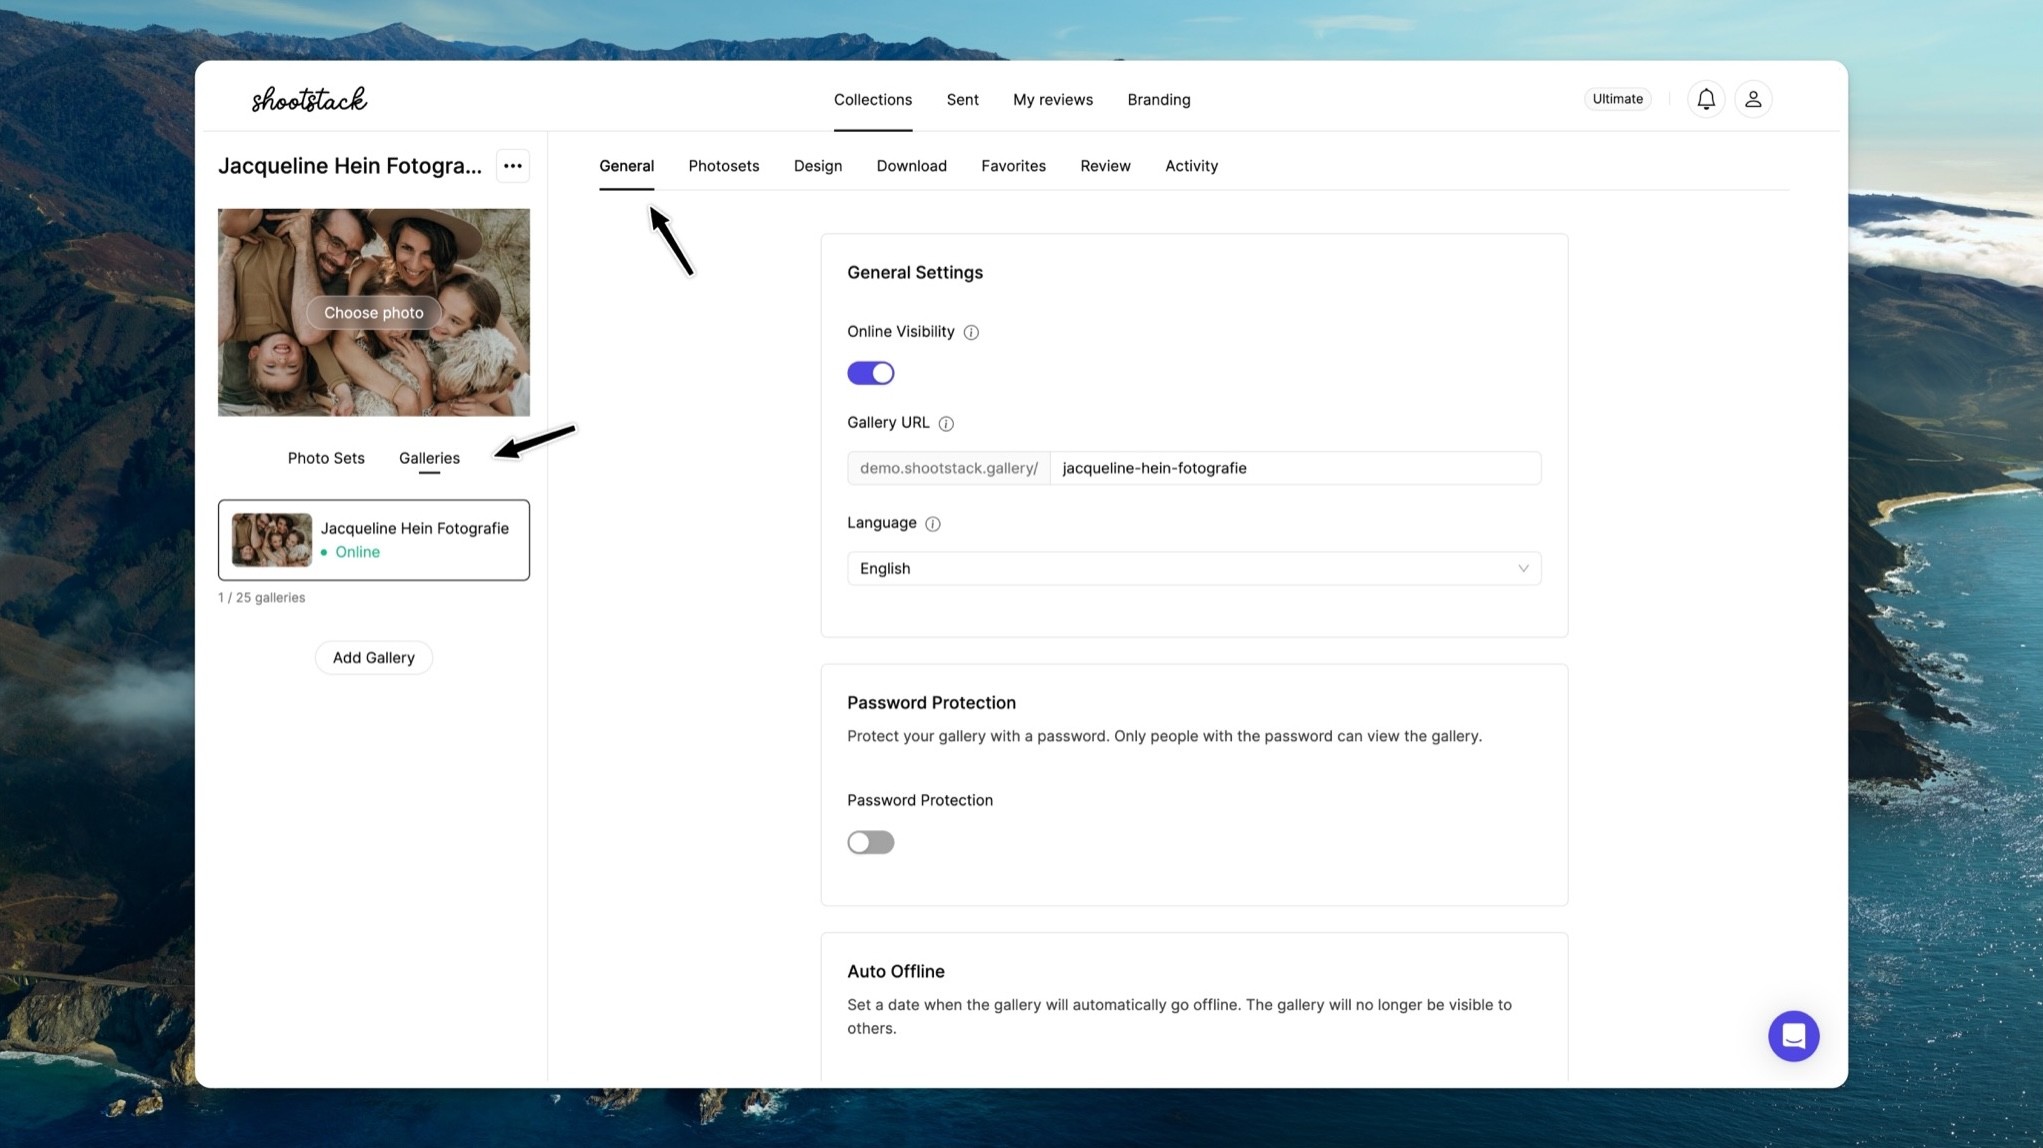
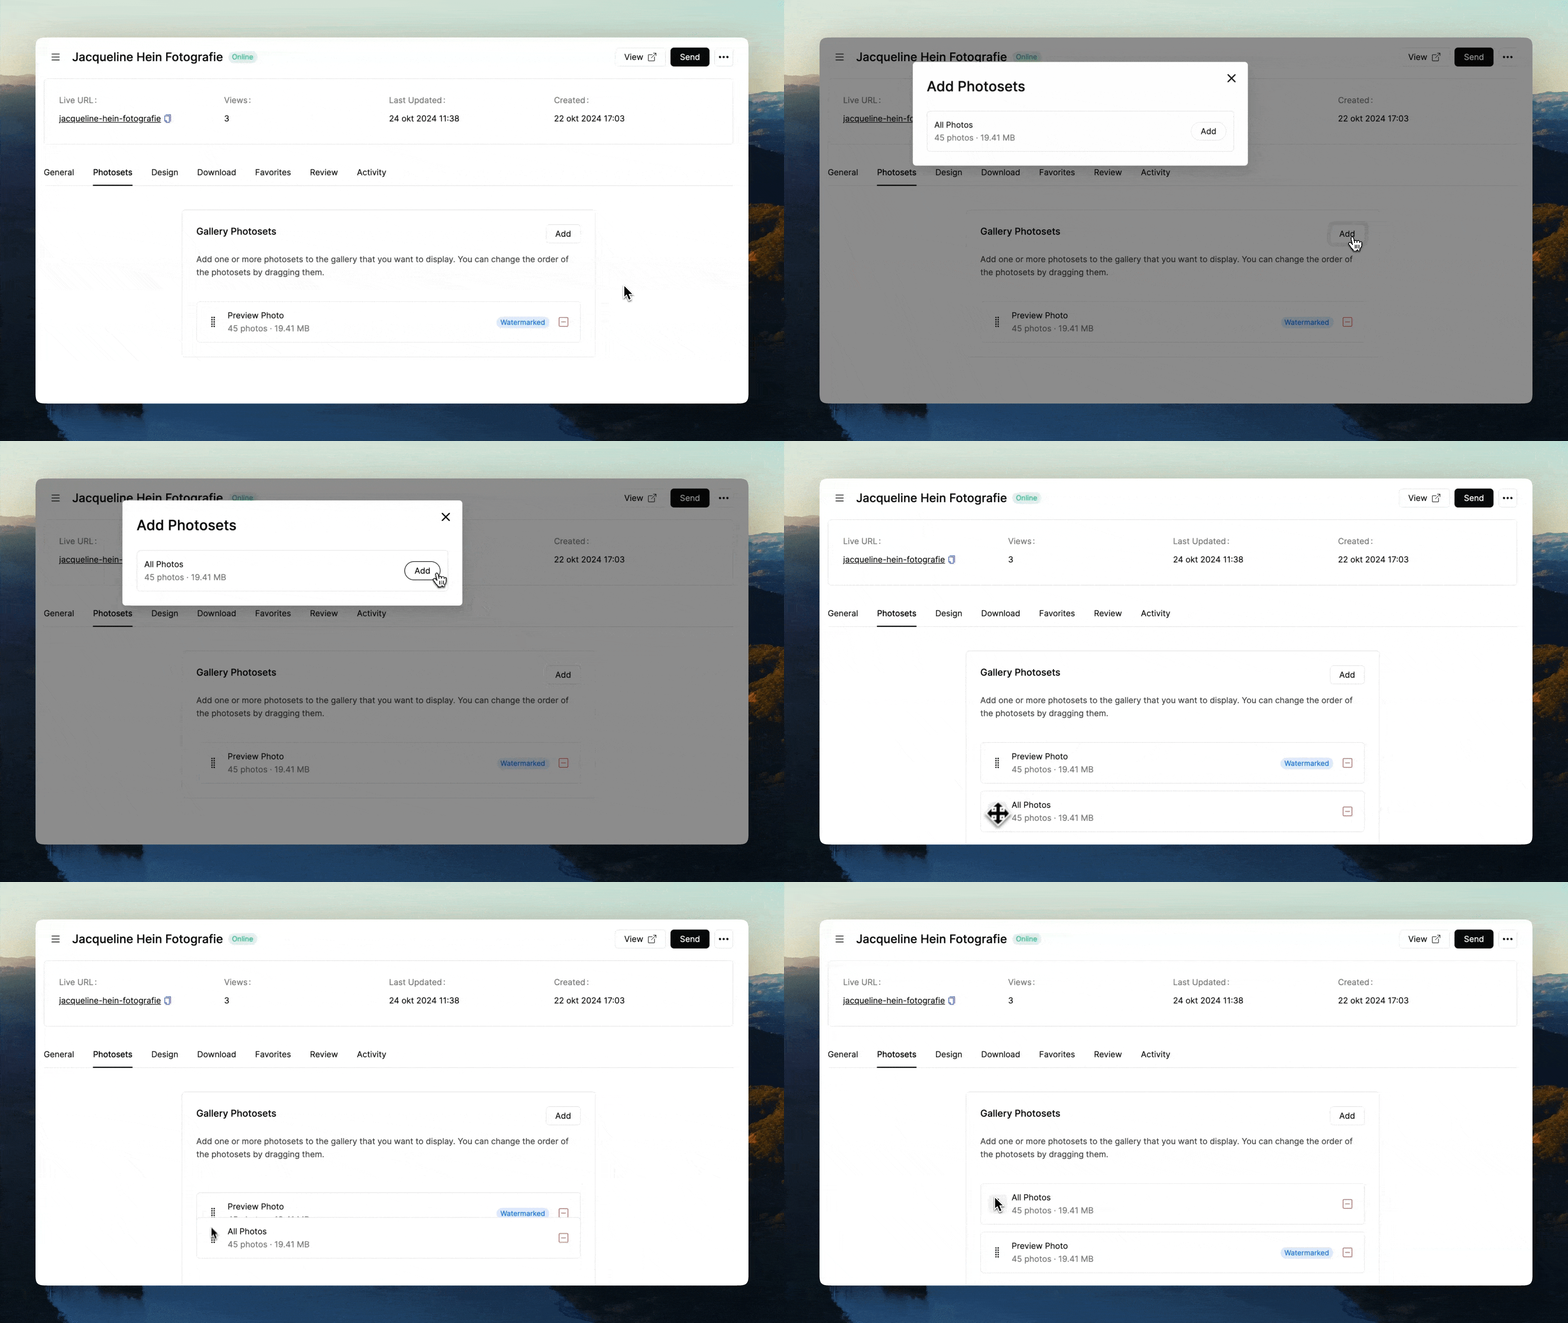
Photo sets
If you have created multiple photo sets, you can click on Add to add the photo sets you want to display in the gallery. You can change their order by dragging them. If you don’t see a photo set in the gallery, always check if it is enabled in the gallery settings.
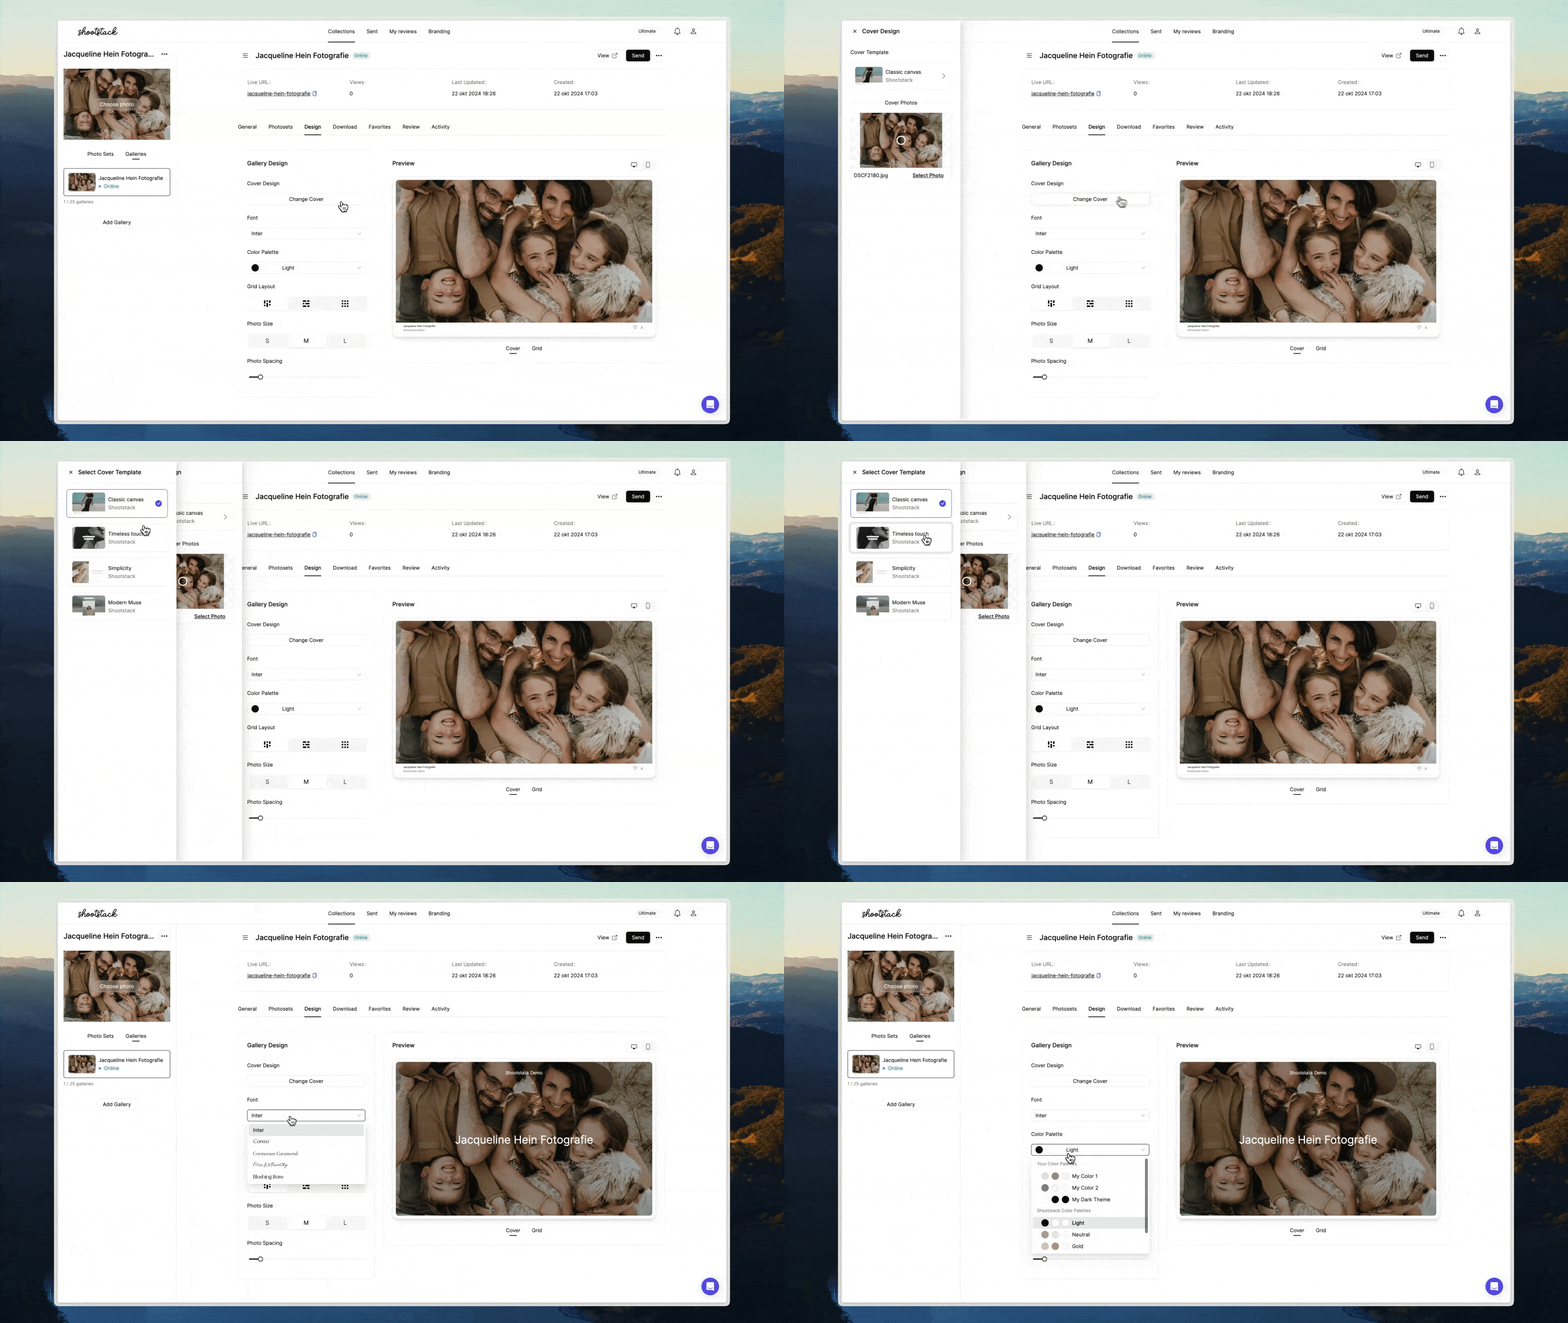
Design
Here you can change the design of your gallery to match your needs.
Change Cover: Select a cover template and optionally add a title and text (not available for all cover templates). Choose a photo for the cover and adjust the focus point.Font and Colors: Select a font and color palette that suits your brand. In your Branding settings, you can also create your own color palettes.Layout: To change the gallery layout, select your preferred grid, photo size, and spacing between photos.
Download
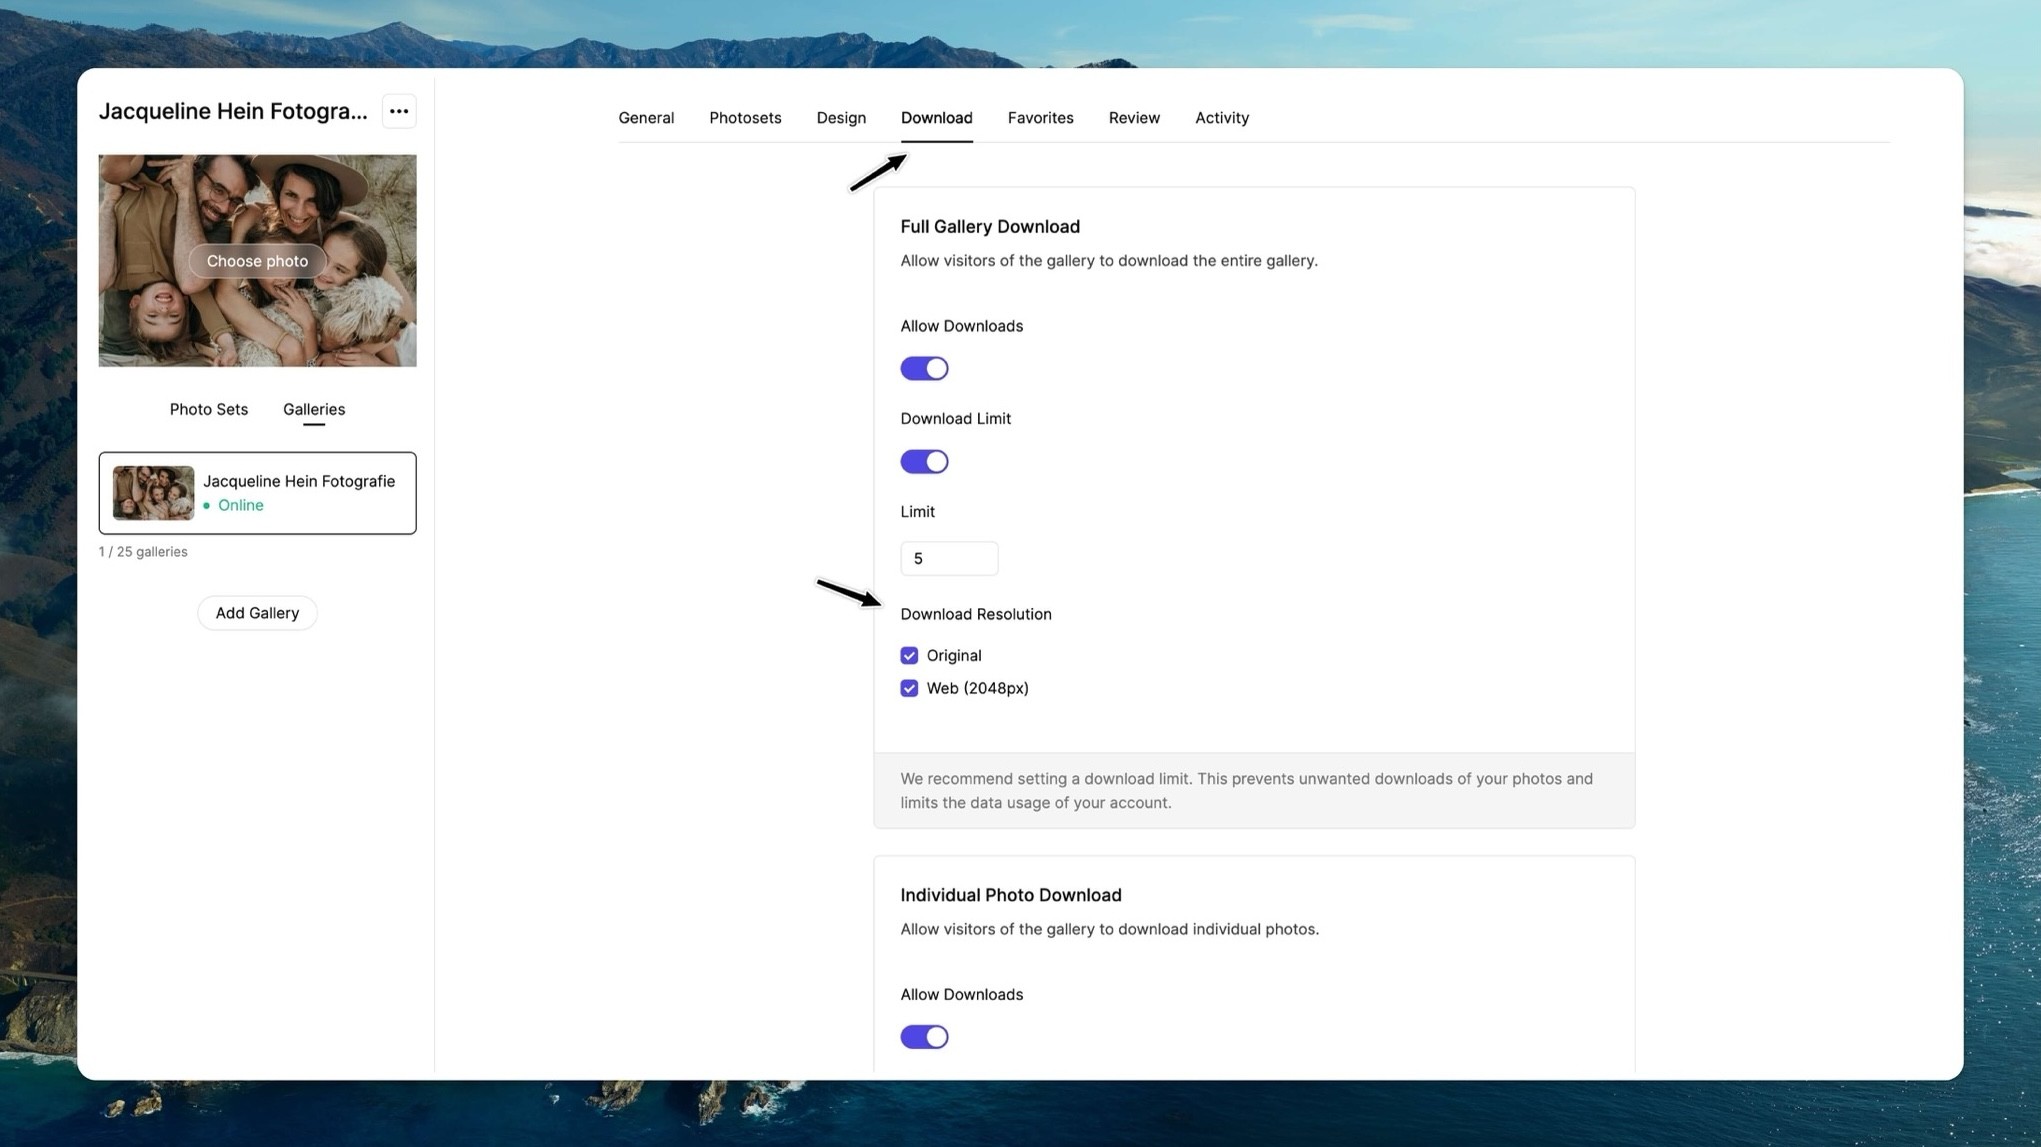
Enable downloads for your gallery here. You can allow clients to download the entire gallery or individual photos.
Download resolutions
You can enable both original and web size resolution. To easily let your clients download different sizes.
Original Resolution: Clients can download the full-size photos you uploaded.Web Resolution: This option provides photos at 2048 pixels, suitable for online use.
Download limit
Set a maximum number of downloads for both the full gallery and individual photos. For the full gallery we recommend setting a download limit of 5. This helps you stay within your bandwidth limits. You can always adjust or turn off this limit. Be sure to communicate this download limit to your clients, so they know how many times they can download the photos. Read more about bandwidth limits here.
Pin protection
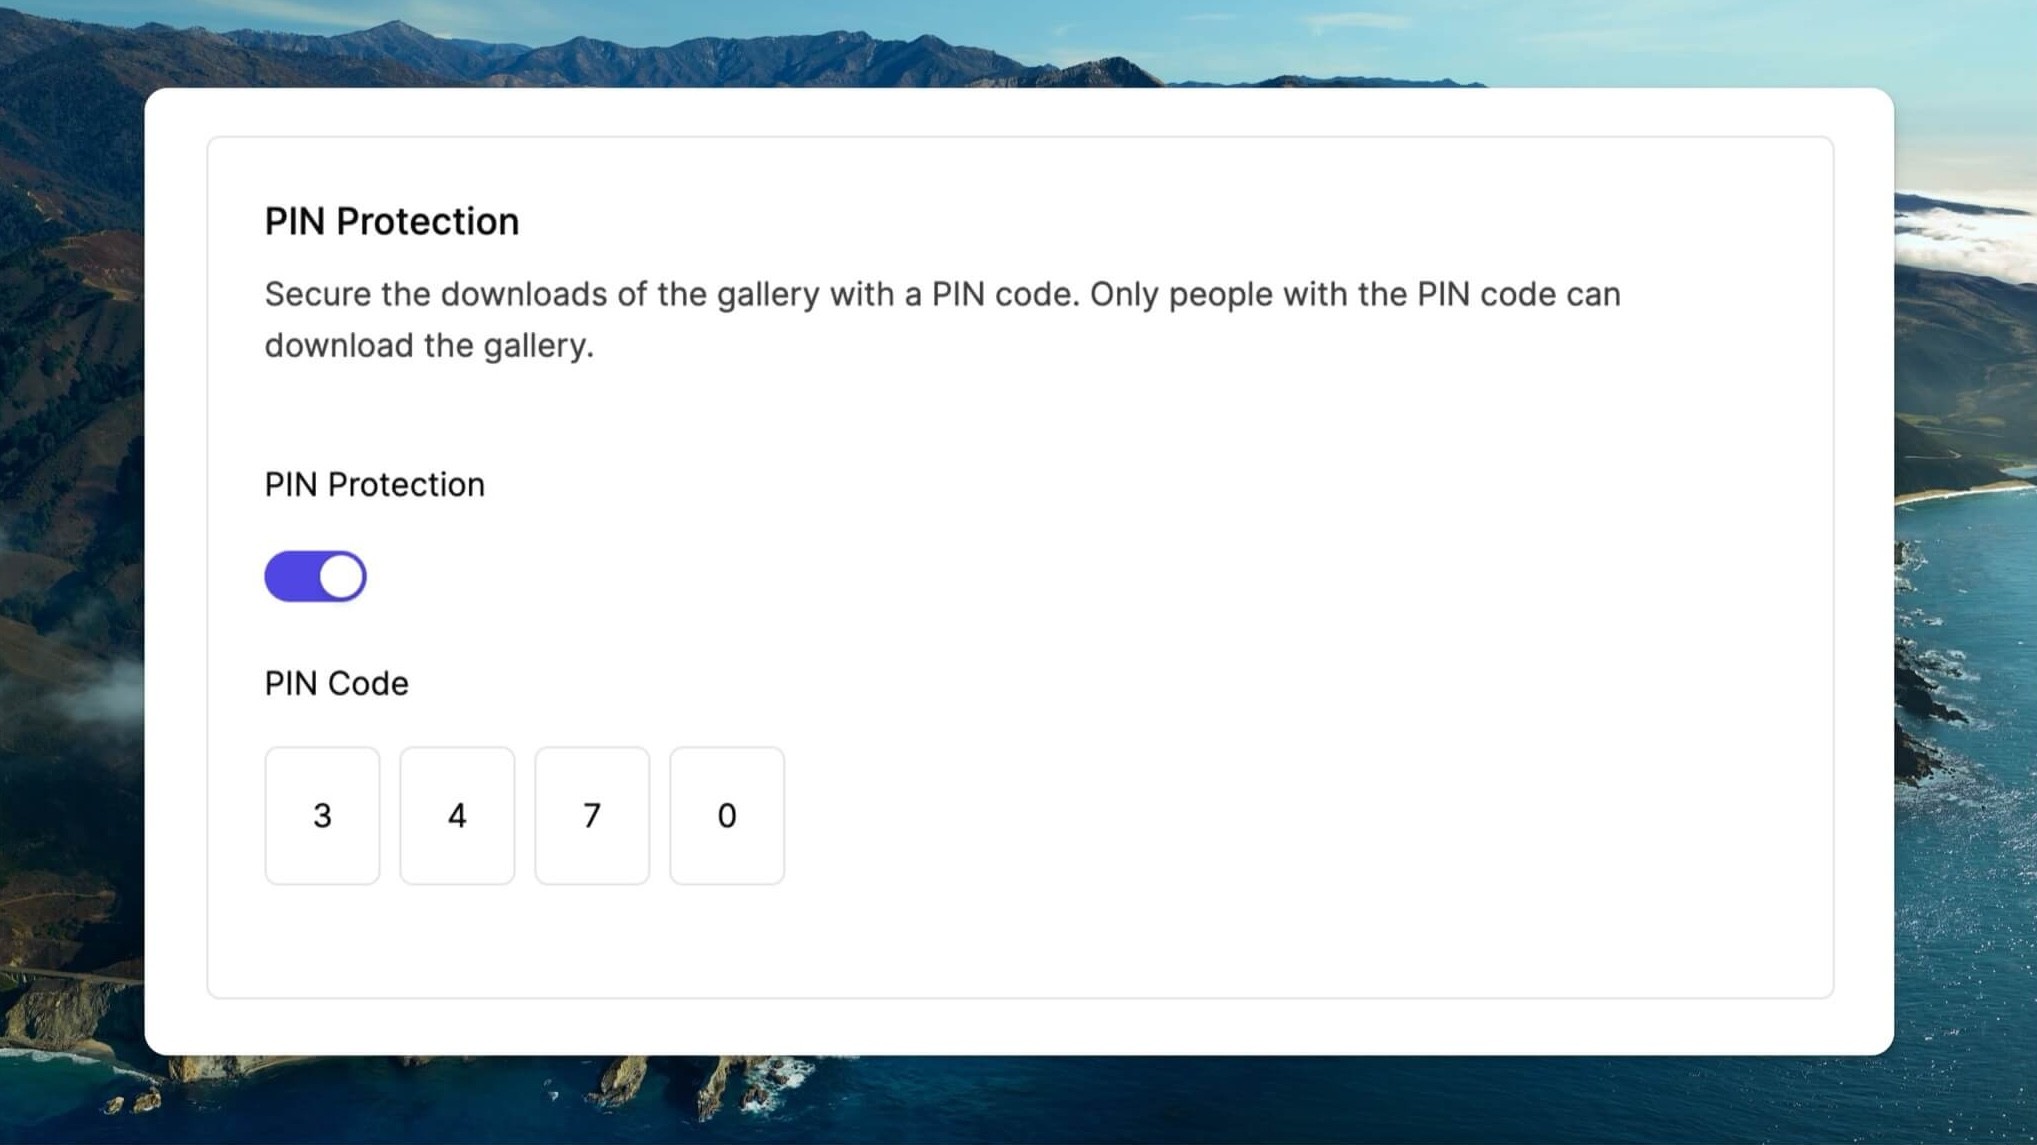
For extra security, you can require a PIN for downloads. Clients must enter this PIN to access the photos, ensuring authorized downloads only.
Favorites
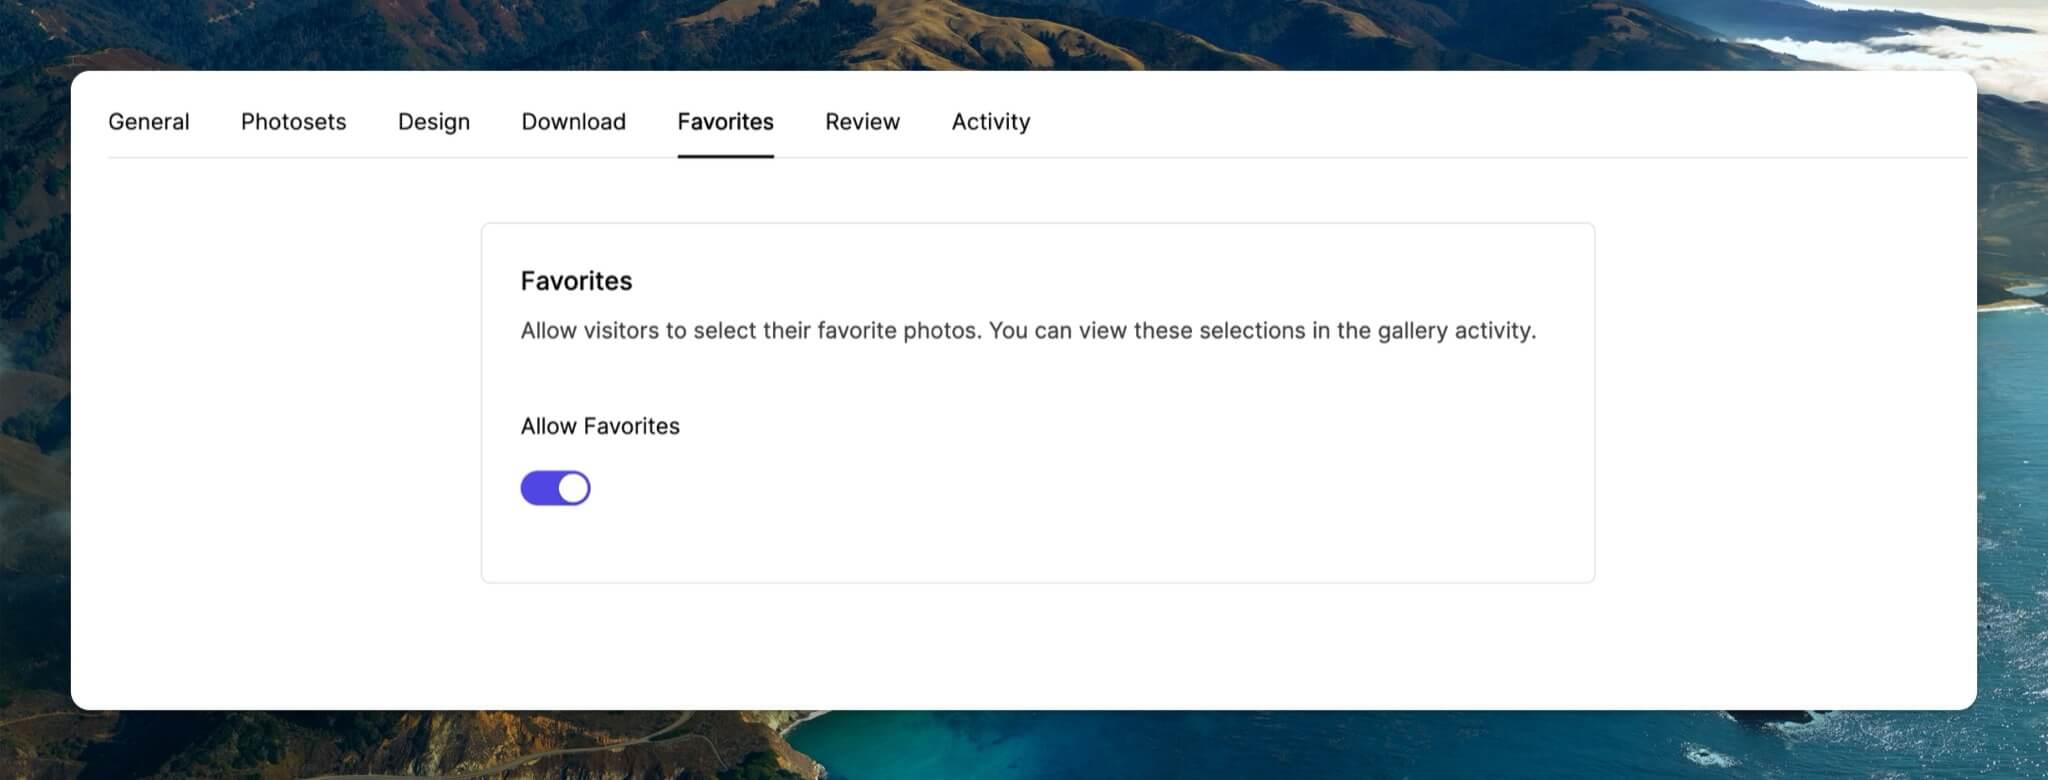
Here you can allow clients to select their favorite photos from the gallery. For example, they can choose images they want to receive or include in an album. You can view their selected favorites in the Activities tab.
Review
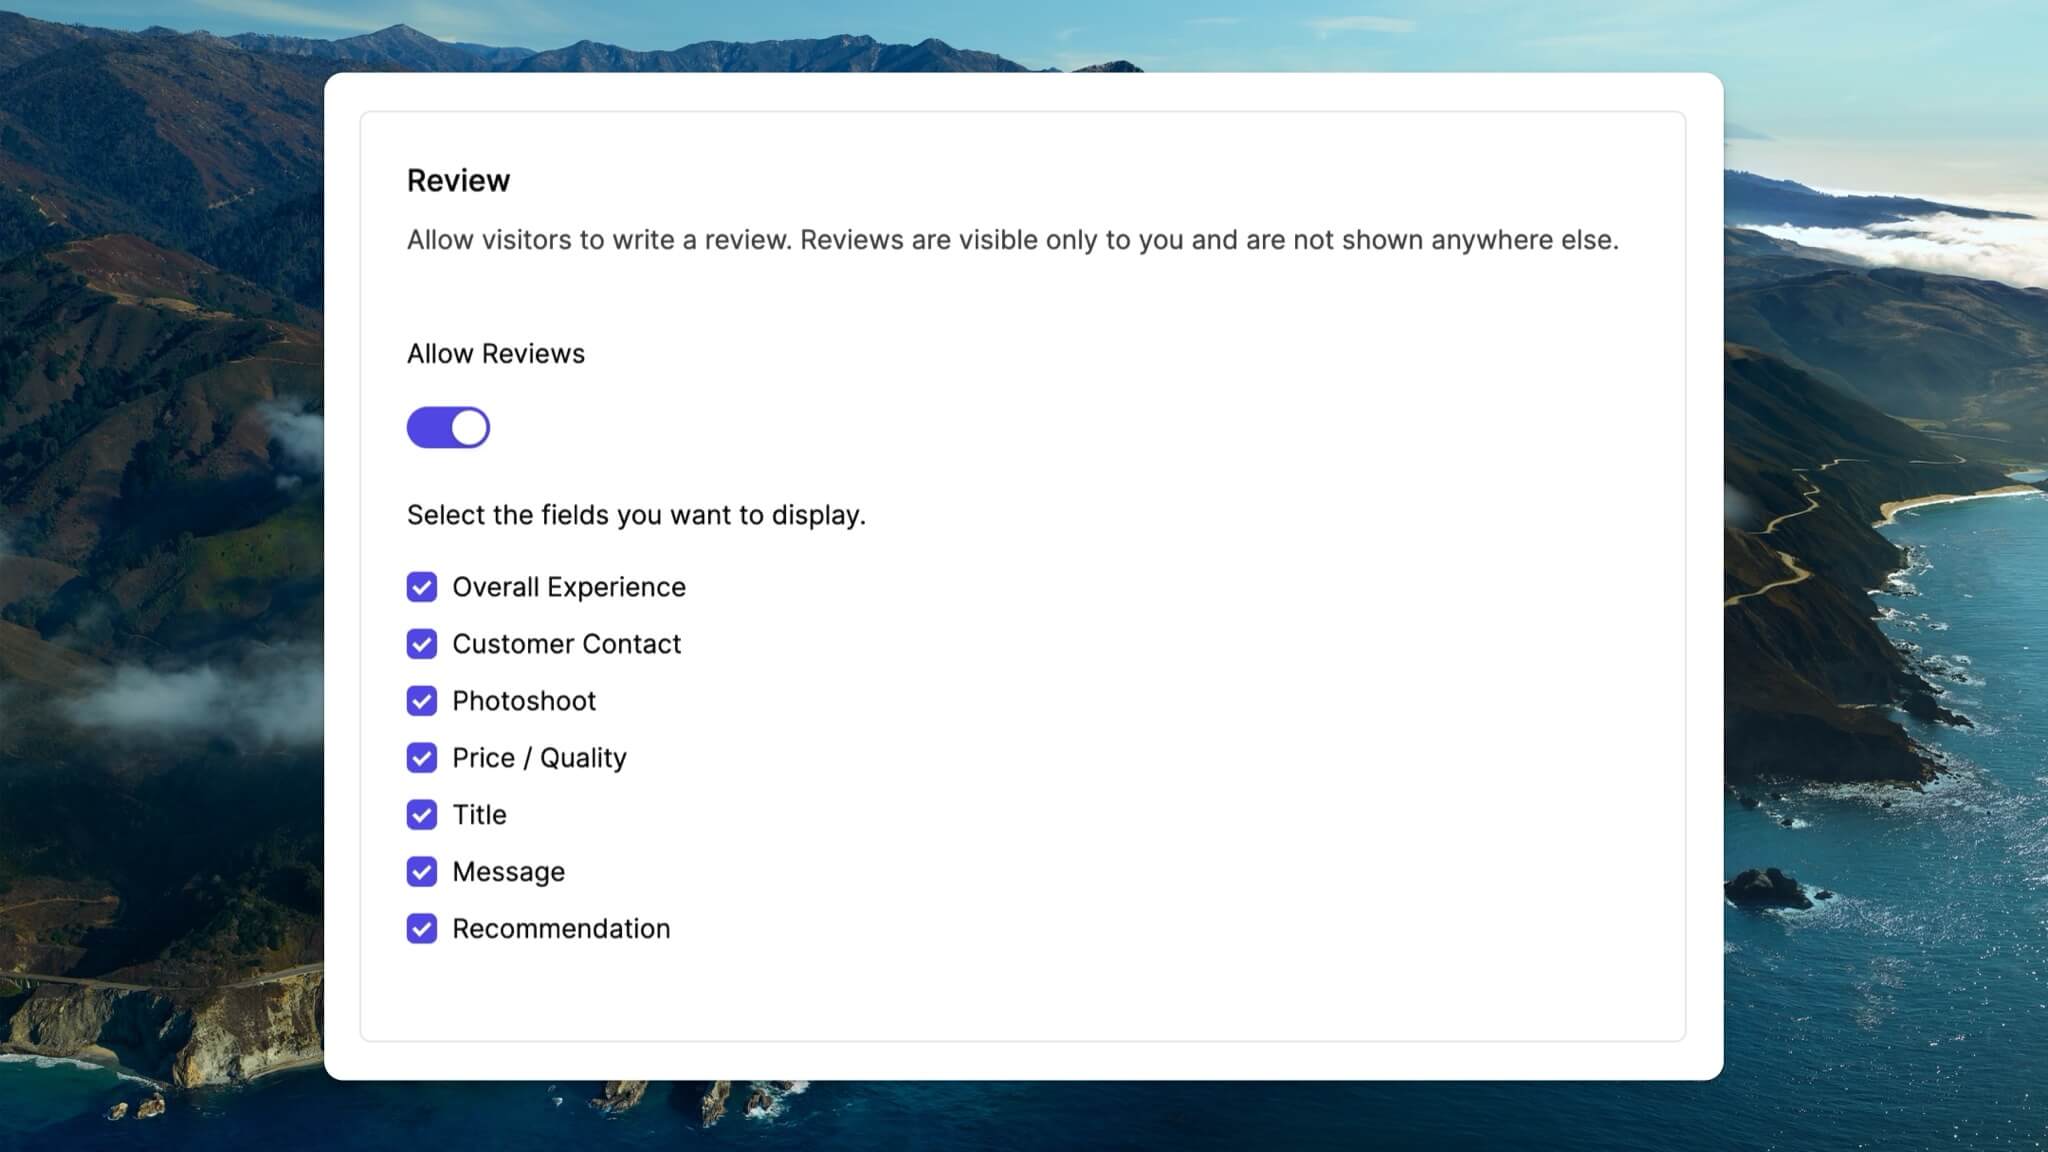
Allow reviews to enable clients to share their feedback directly from the gallery. You can select what information you want to display. You can approve the reviews via the Reviews tab and add them to your Reviews page. (coming soon)
Activity
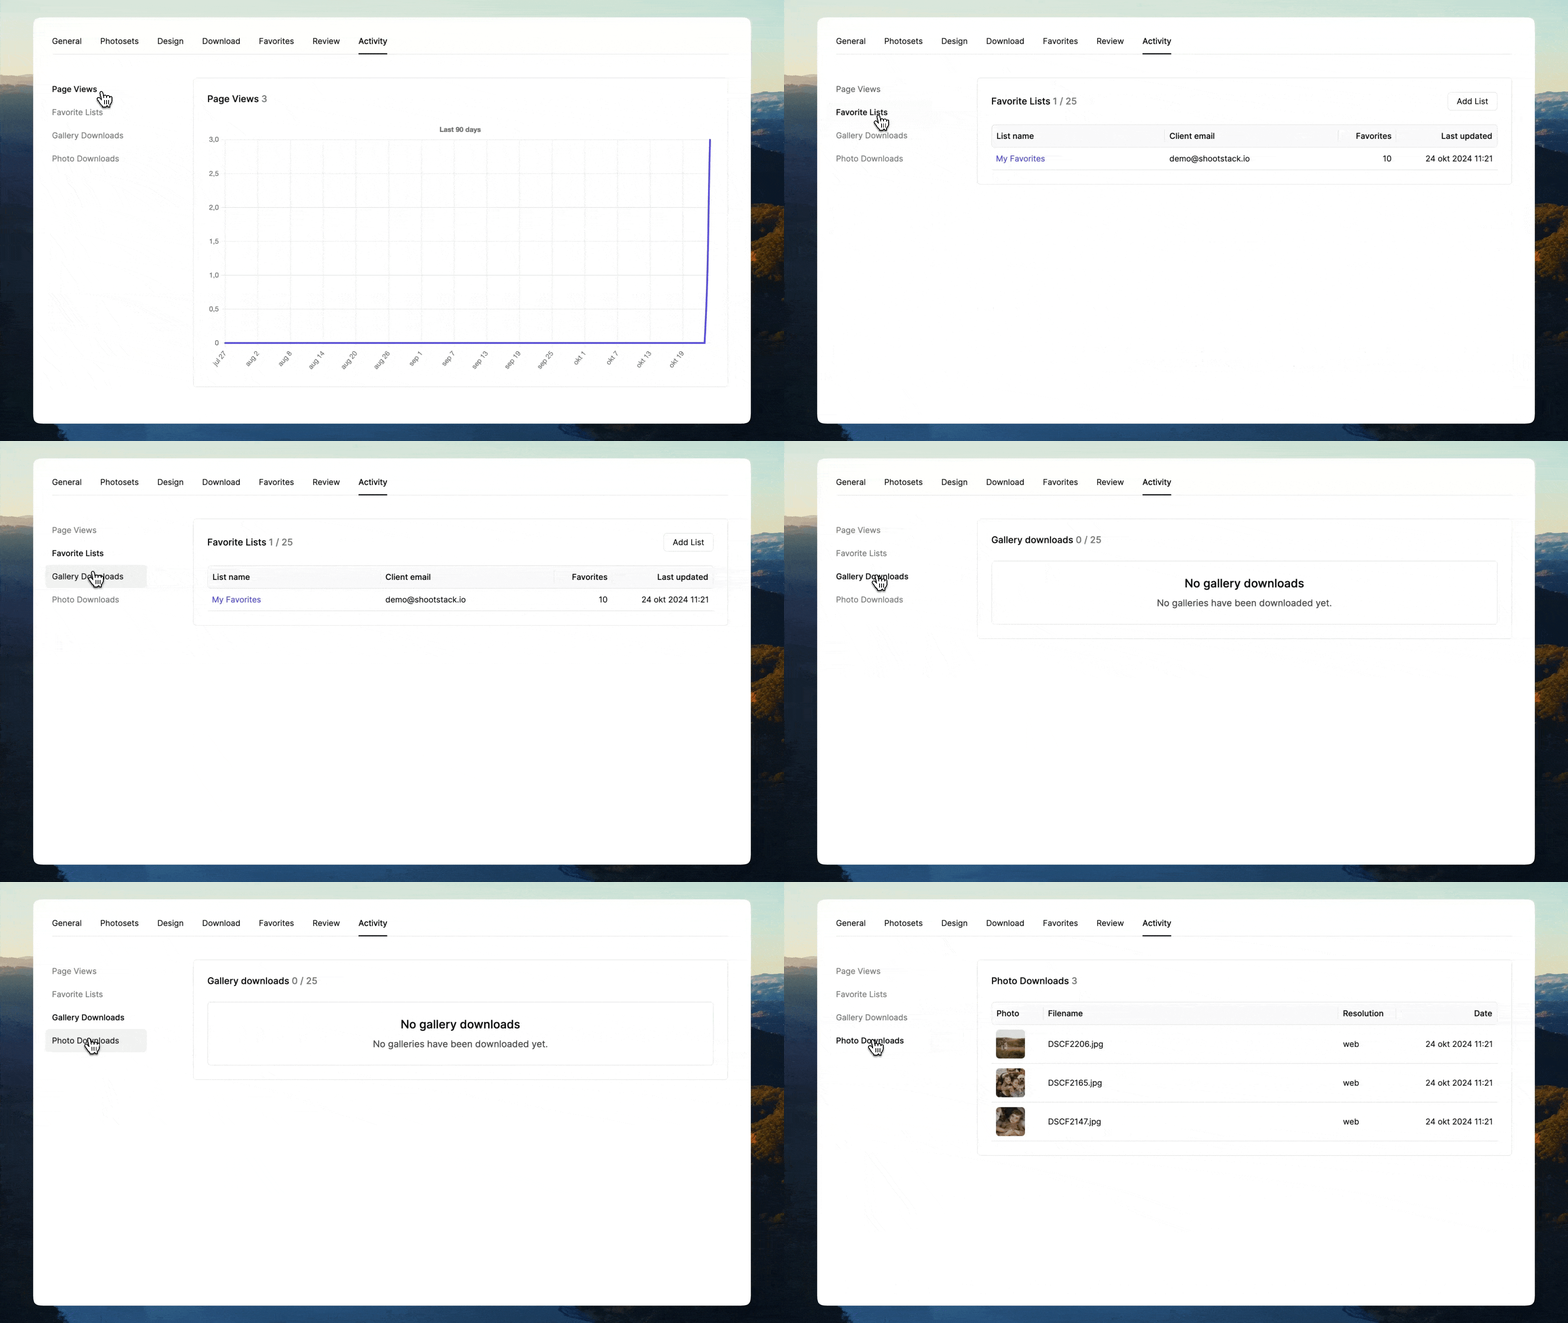
Here you can view all activities of the gallery, including page views from the last three months, favorites lists, and downloads of galleries and individual photos. This provides insight into how clients are interacting with the gallery.
Edit gallery name
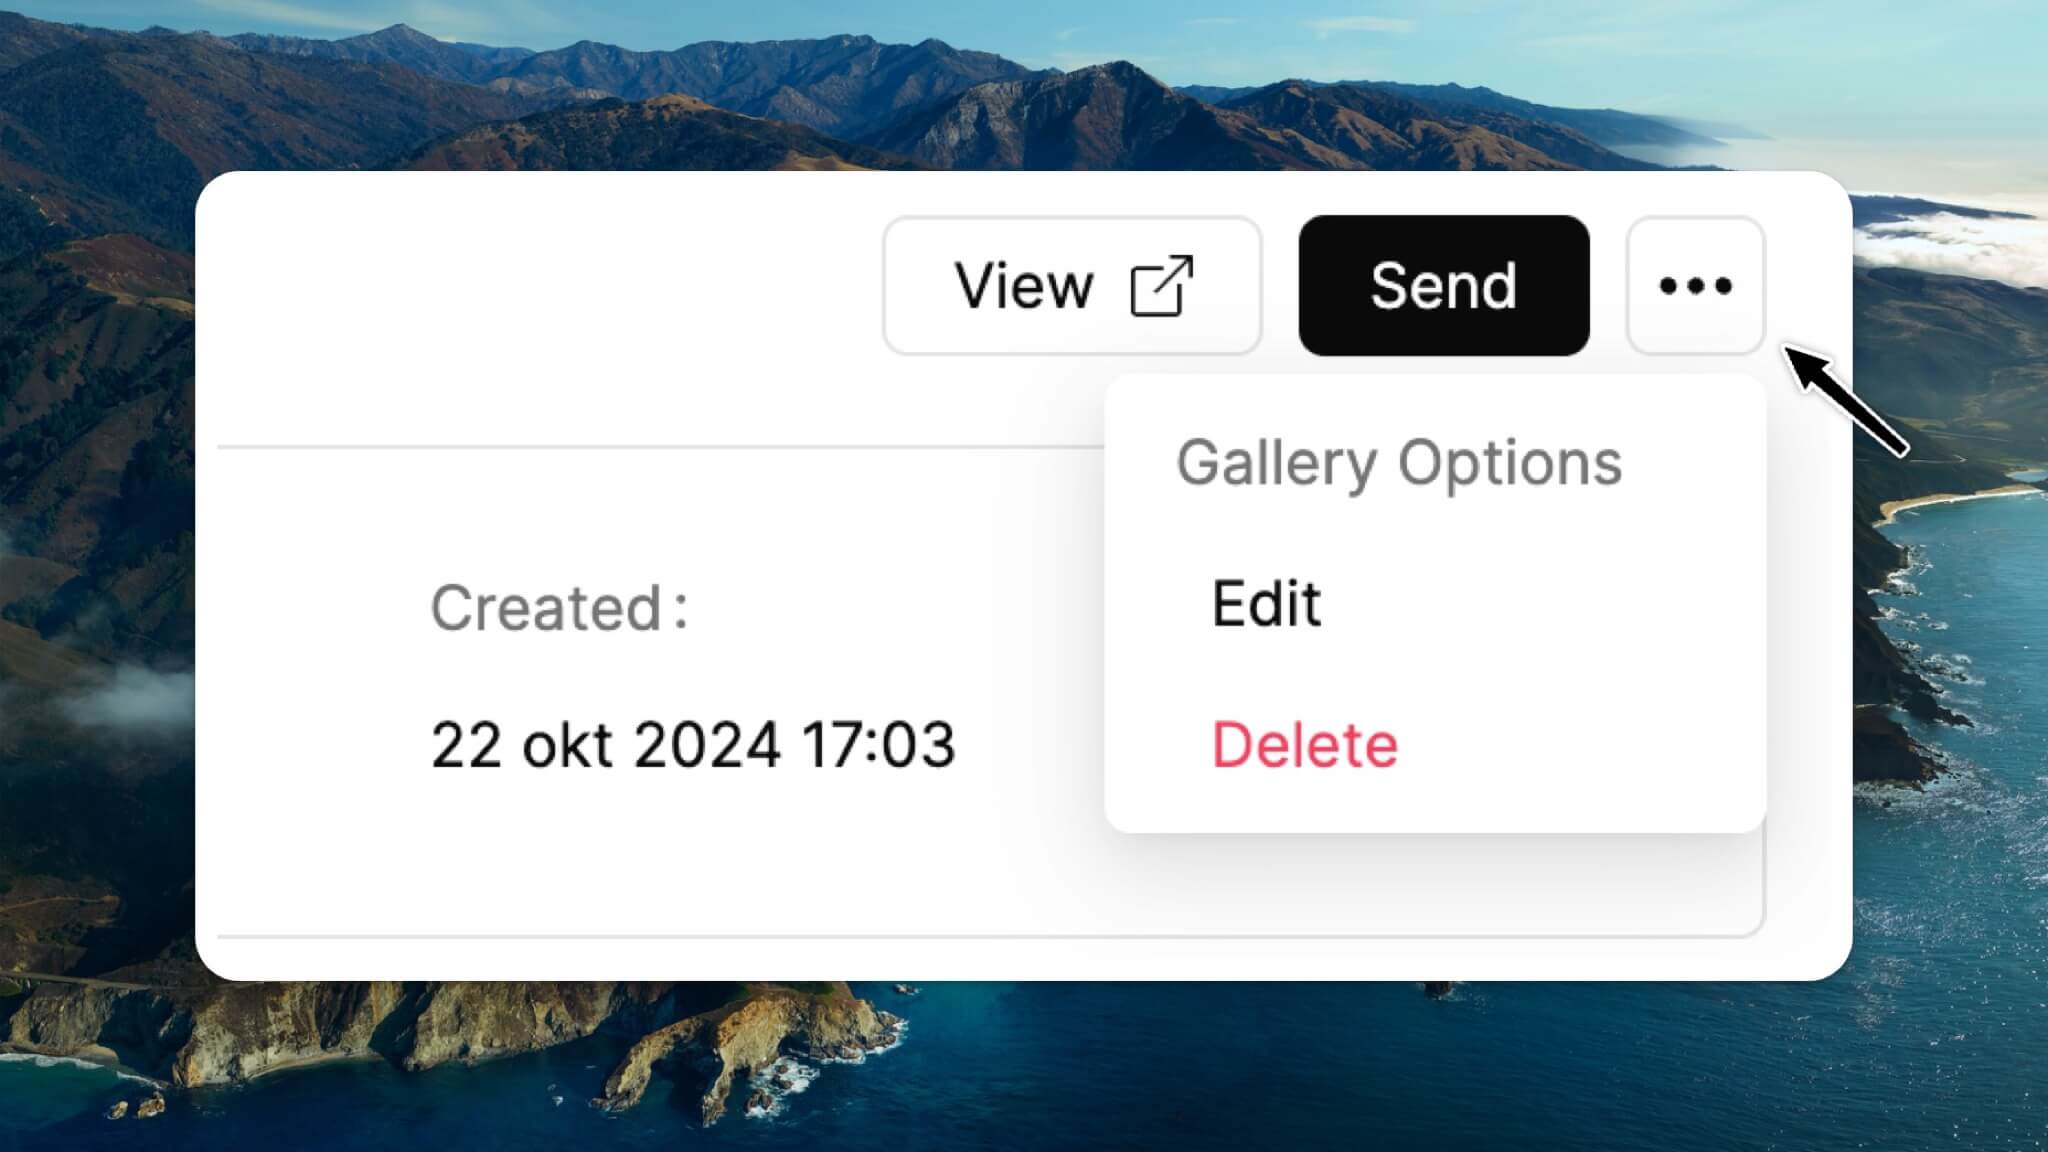
To change the gallery name, click the three dots in the top right corner. By selecting Edit, you can change the name. This is displayed in the navigation bar of your gallery. To change the name of the cover, go to Design > Cover Design and change the title here.
Add multiple galleries
You can create multiple galleries within a collection, each with its own URL and settings. This allows you to send different galleries to different people, without needing to reupload the same images. All galleries related to a particular collection remain organized in one place.
To create a new gallery, click Add Gallery and enter the name. Once the gallery is created, you can select it, configure the settings and send it to the right recipients.
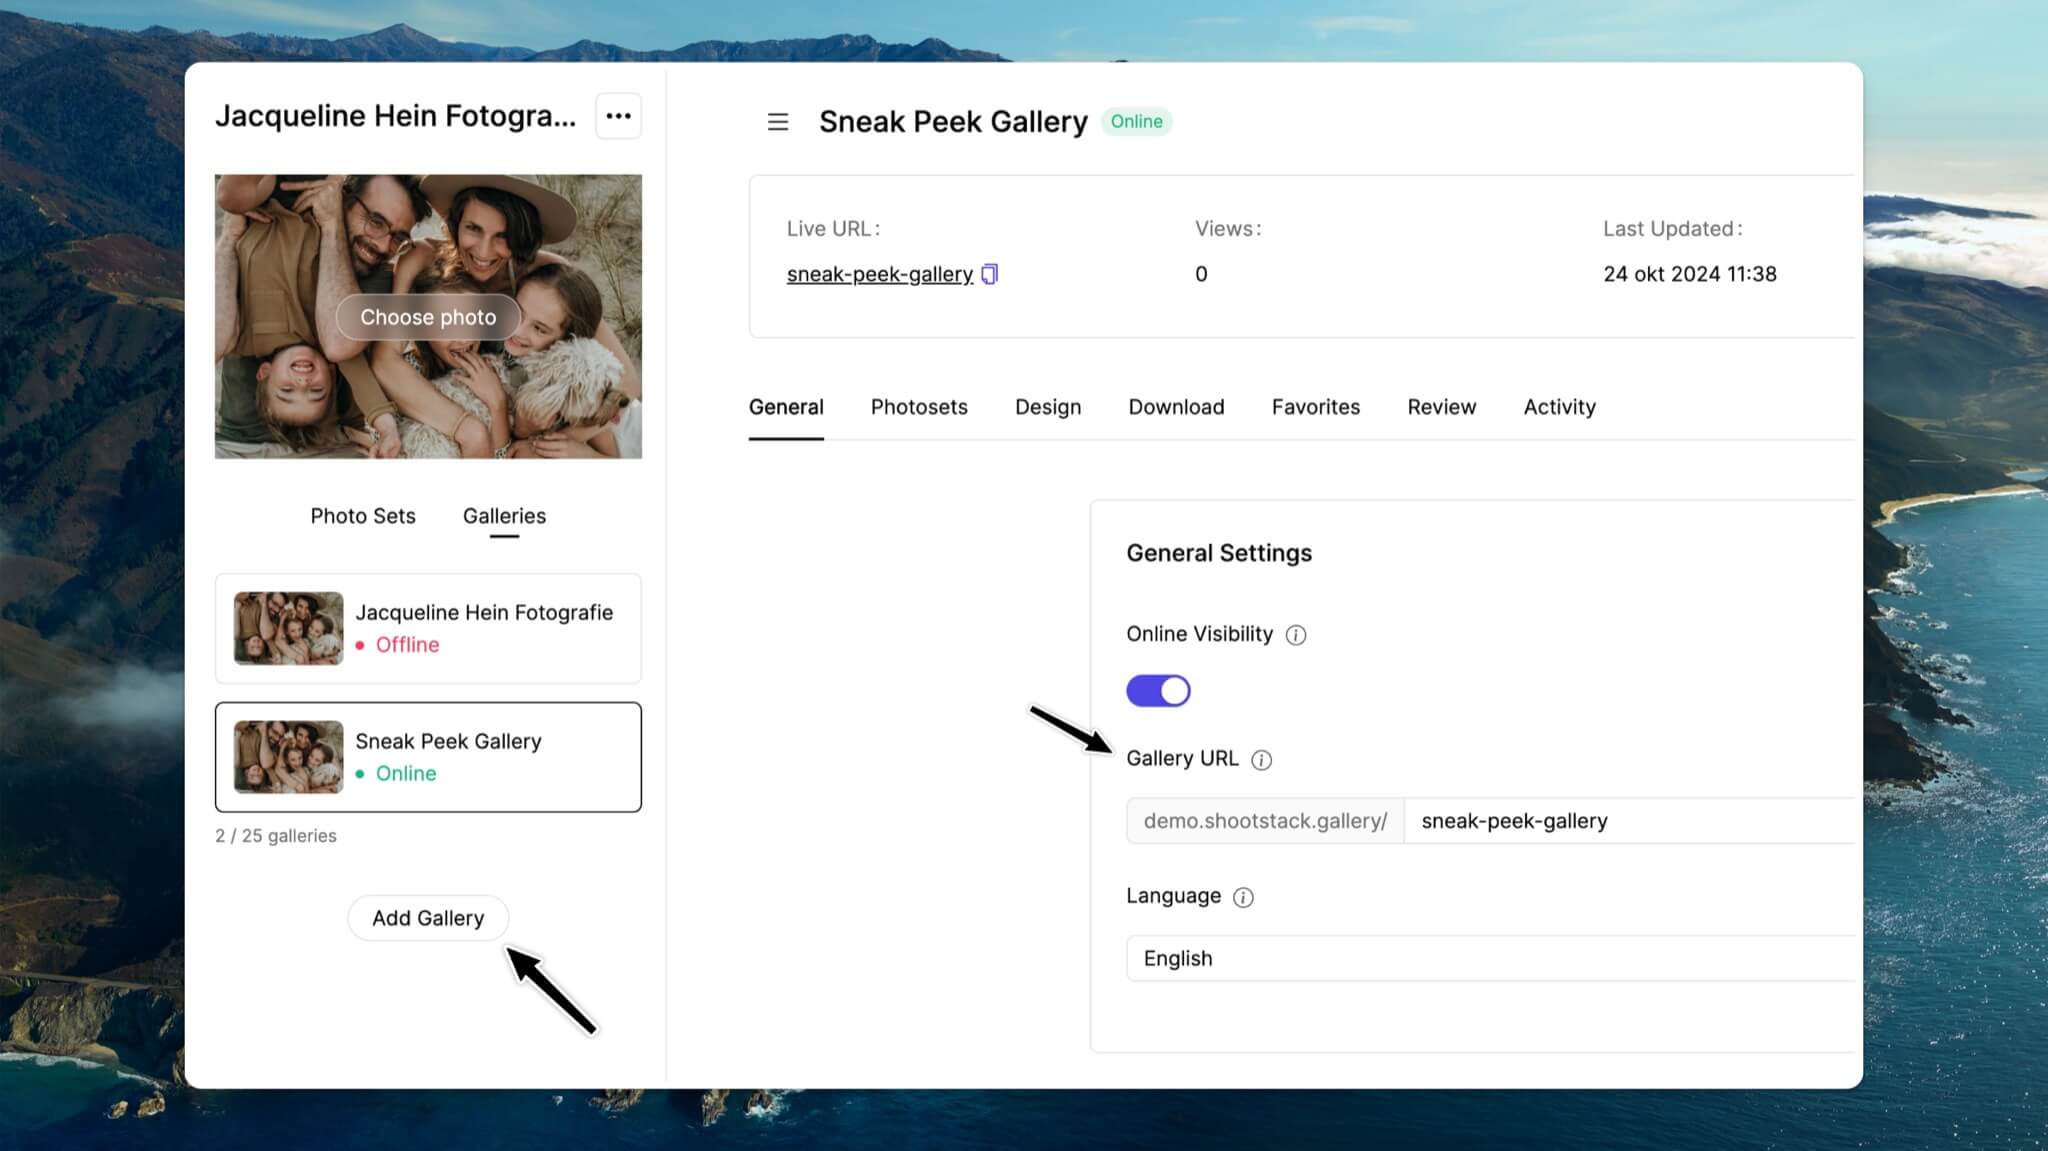
Each gallery contains the specific photo sets you choose to display, so you can share specific photos with each recipient.
Here are some examples of when this is useful:
For vendors: If you're working with different vendors on a shoot, they don’t all need every photo. You can create a specific photo set for each vendor and add it to their gallery.For mini shoots: Create a photo set and gallery for each client. Turn on the relevant photo set in their gallery so they only see their own images.For favorite proofing galleries: Let clients select their favorite photos in a proofing gallery. Once they’ve made their selections, you can create a new gallery with the final images. Clients can always return to the proofing gallery to select more photos later.

