Mini Shoots
Learn how to create an efficient workflow for your mini shoot sessions to efficiently manage and organize multiple shoots within one collection.
Related
Mini Shoot Workflow
Learn how to create an efficient mini shoot workflow to efficiently manage and organize multiple shoots within one collection.
Create a collection
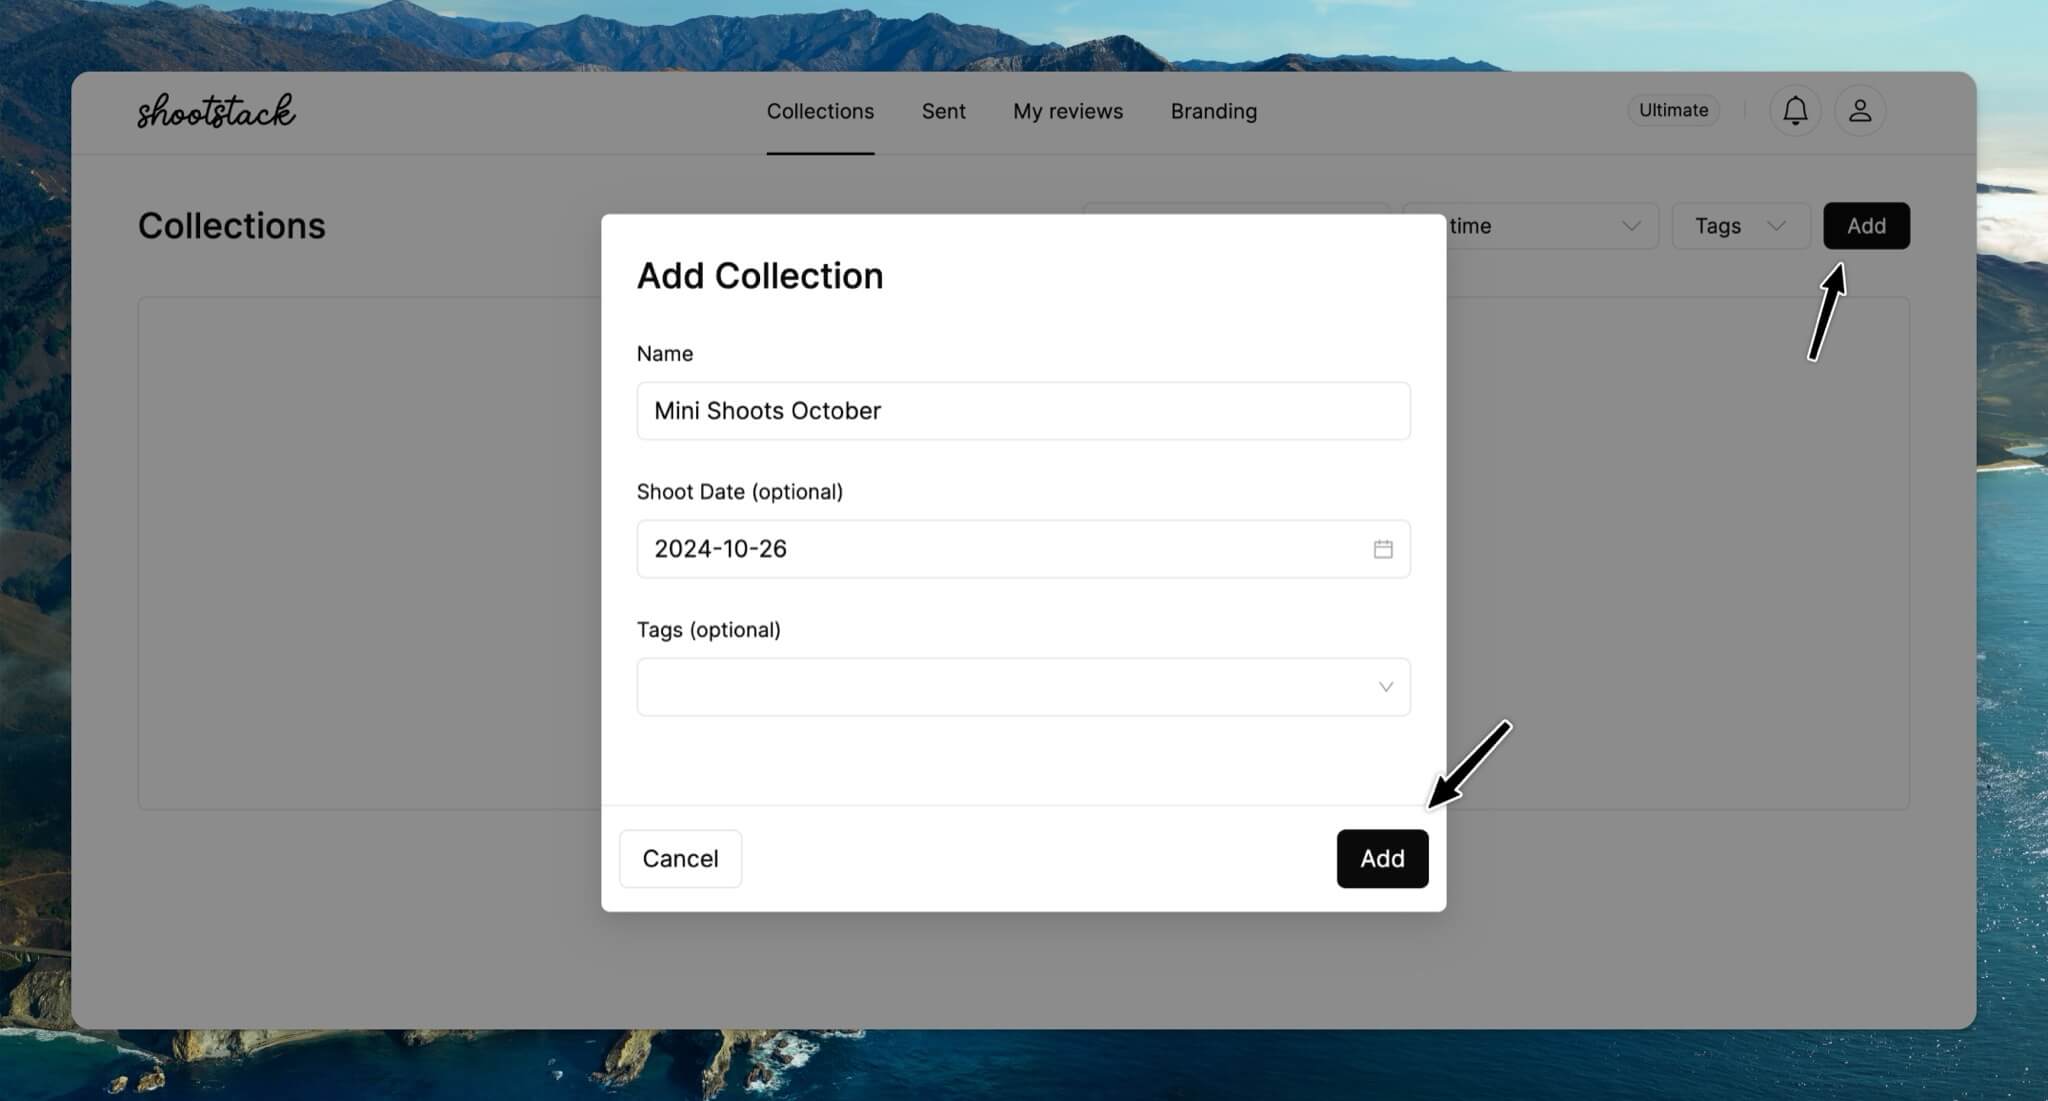
Start by creating one collection for your mini shoot day. Fill in the collection name, date, and optional tags. This collection will include all the clients you photograph that day, so you don’t need to make a separate collection for each shoot.
Add a photo set for every shoot
Next, create a photo set for every client. You can delete the default photo set by clicking the three dots in the upper right corner or change its name.
Watermark photo sets
If you want your clients to select their favorite photos first, be sure to create a watermark photo set. Click on Add Photo Set, fill in the name, and select a watermark. (You can add your watermark under Branding in the menu.)

Next, add the correct photos to every photo set.

Create a gallery for every client
Now it’s time to set up the galleries for each client. Click on Galleries and add a galley for every client from the mini shoot day.
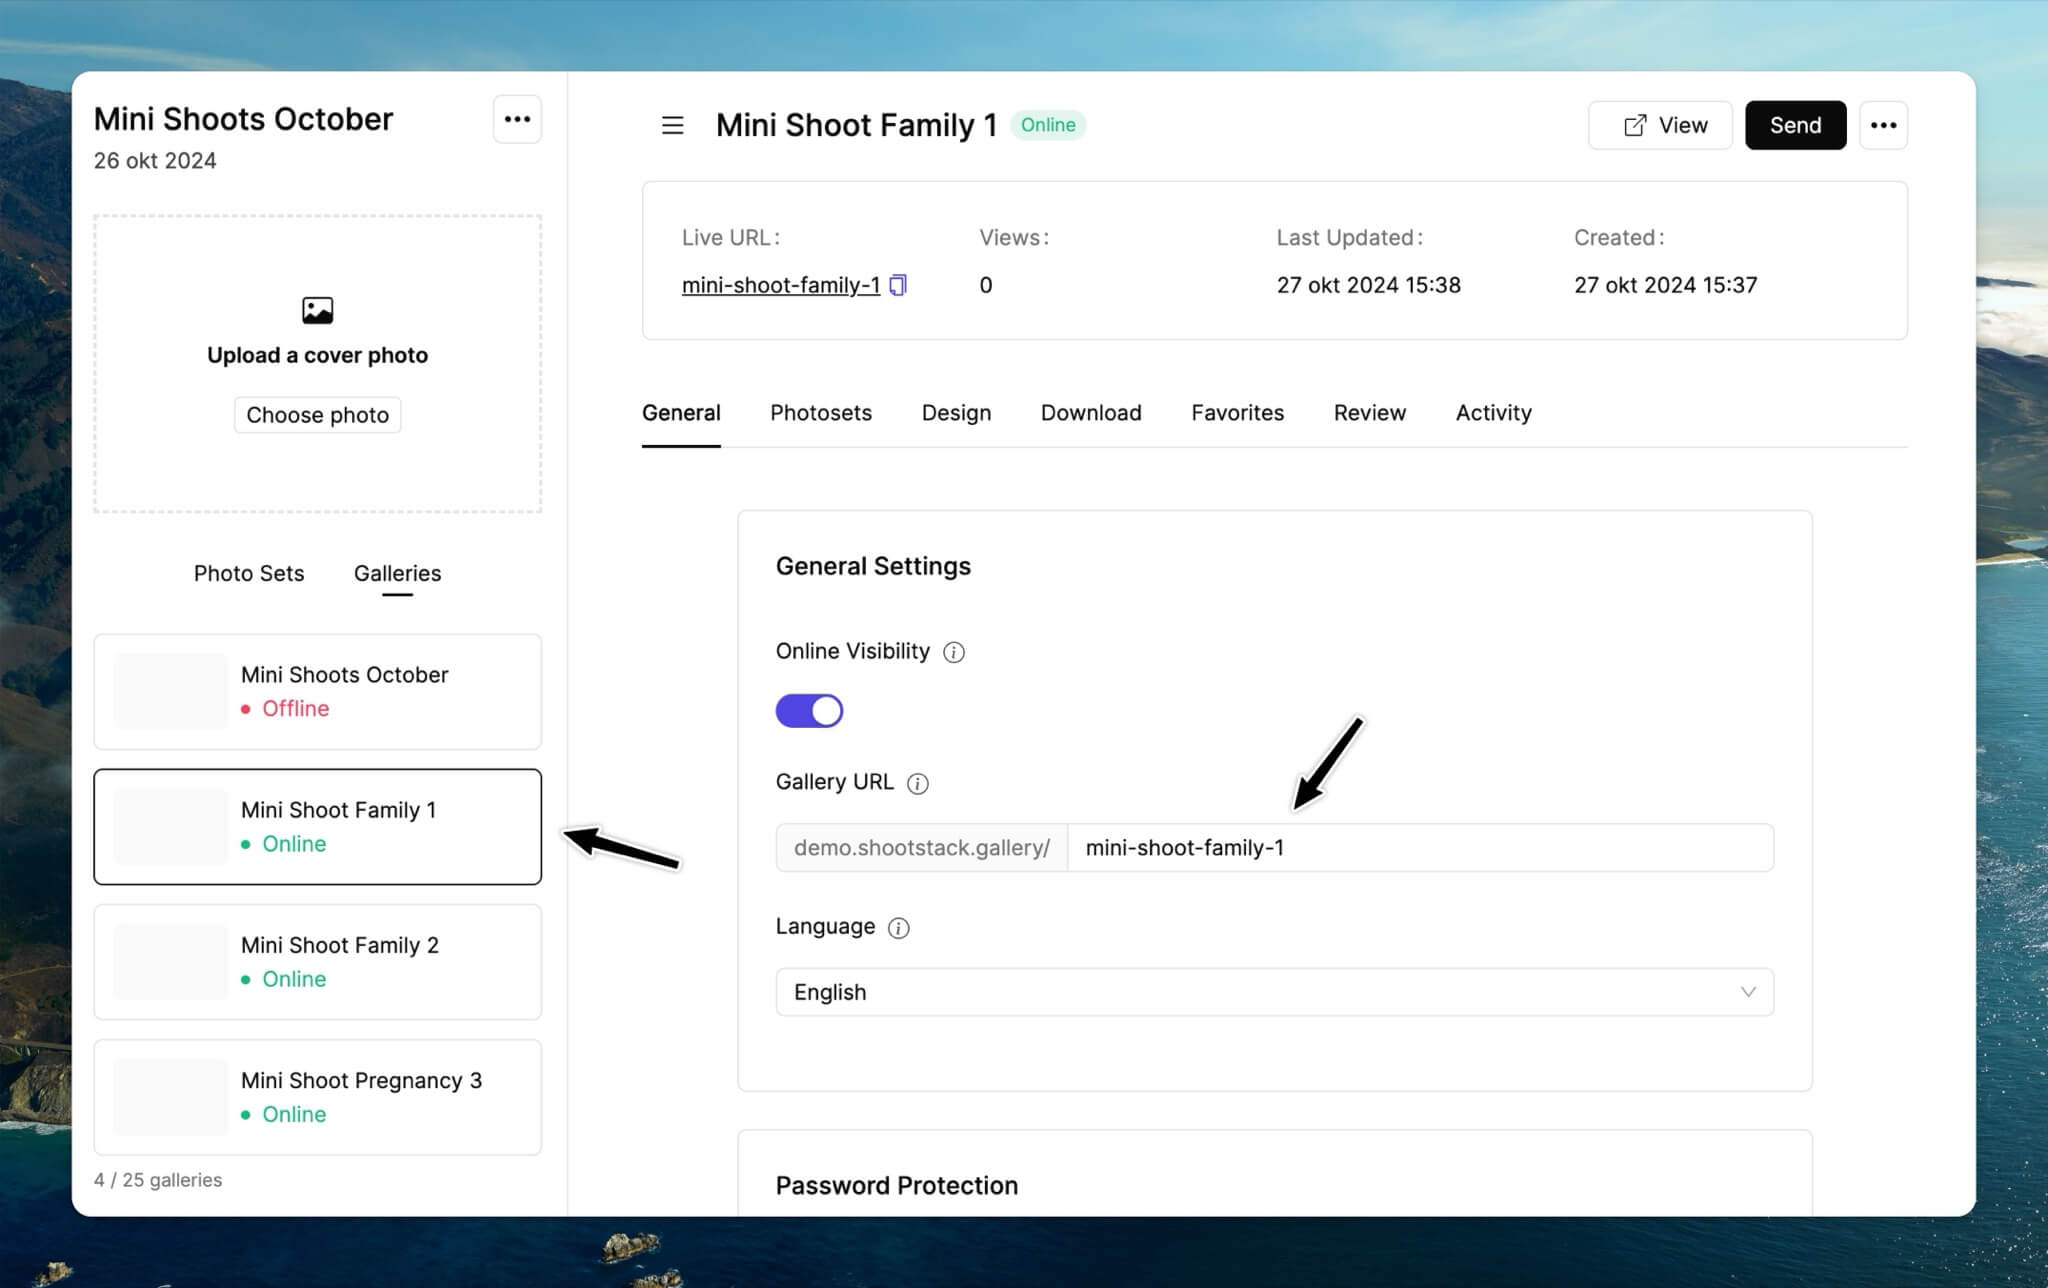
After creating all the galleries, configure the settings for each one:
General: Ensure the URL is filled out correctly and the language is set properly. If desired, protect the gallery with a password.
Photosets: Make sure to add the correct photo set to each gallery here, so the right clients see the photos from their shoot.

Design: Adjust the cover by selecting a cover photo that represents the right photoshoot. Pick a color palette and font that match your style.

Downloads: Keep downloads disabled if you want clients to select their favorites first. If not, you can enable them.Favorites: Enable favorites if you’re using a favorite proofing method.Reviews: Enable reviews when you send the final gallery.
Once all settings are configured, you can select the right gallery and send each one separately to the right client.
Favorite proofing workflow
Upsell extra photos
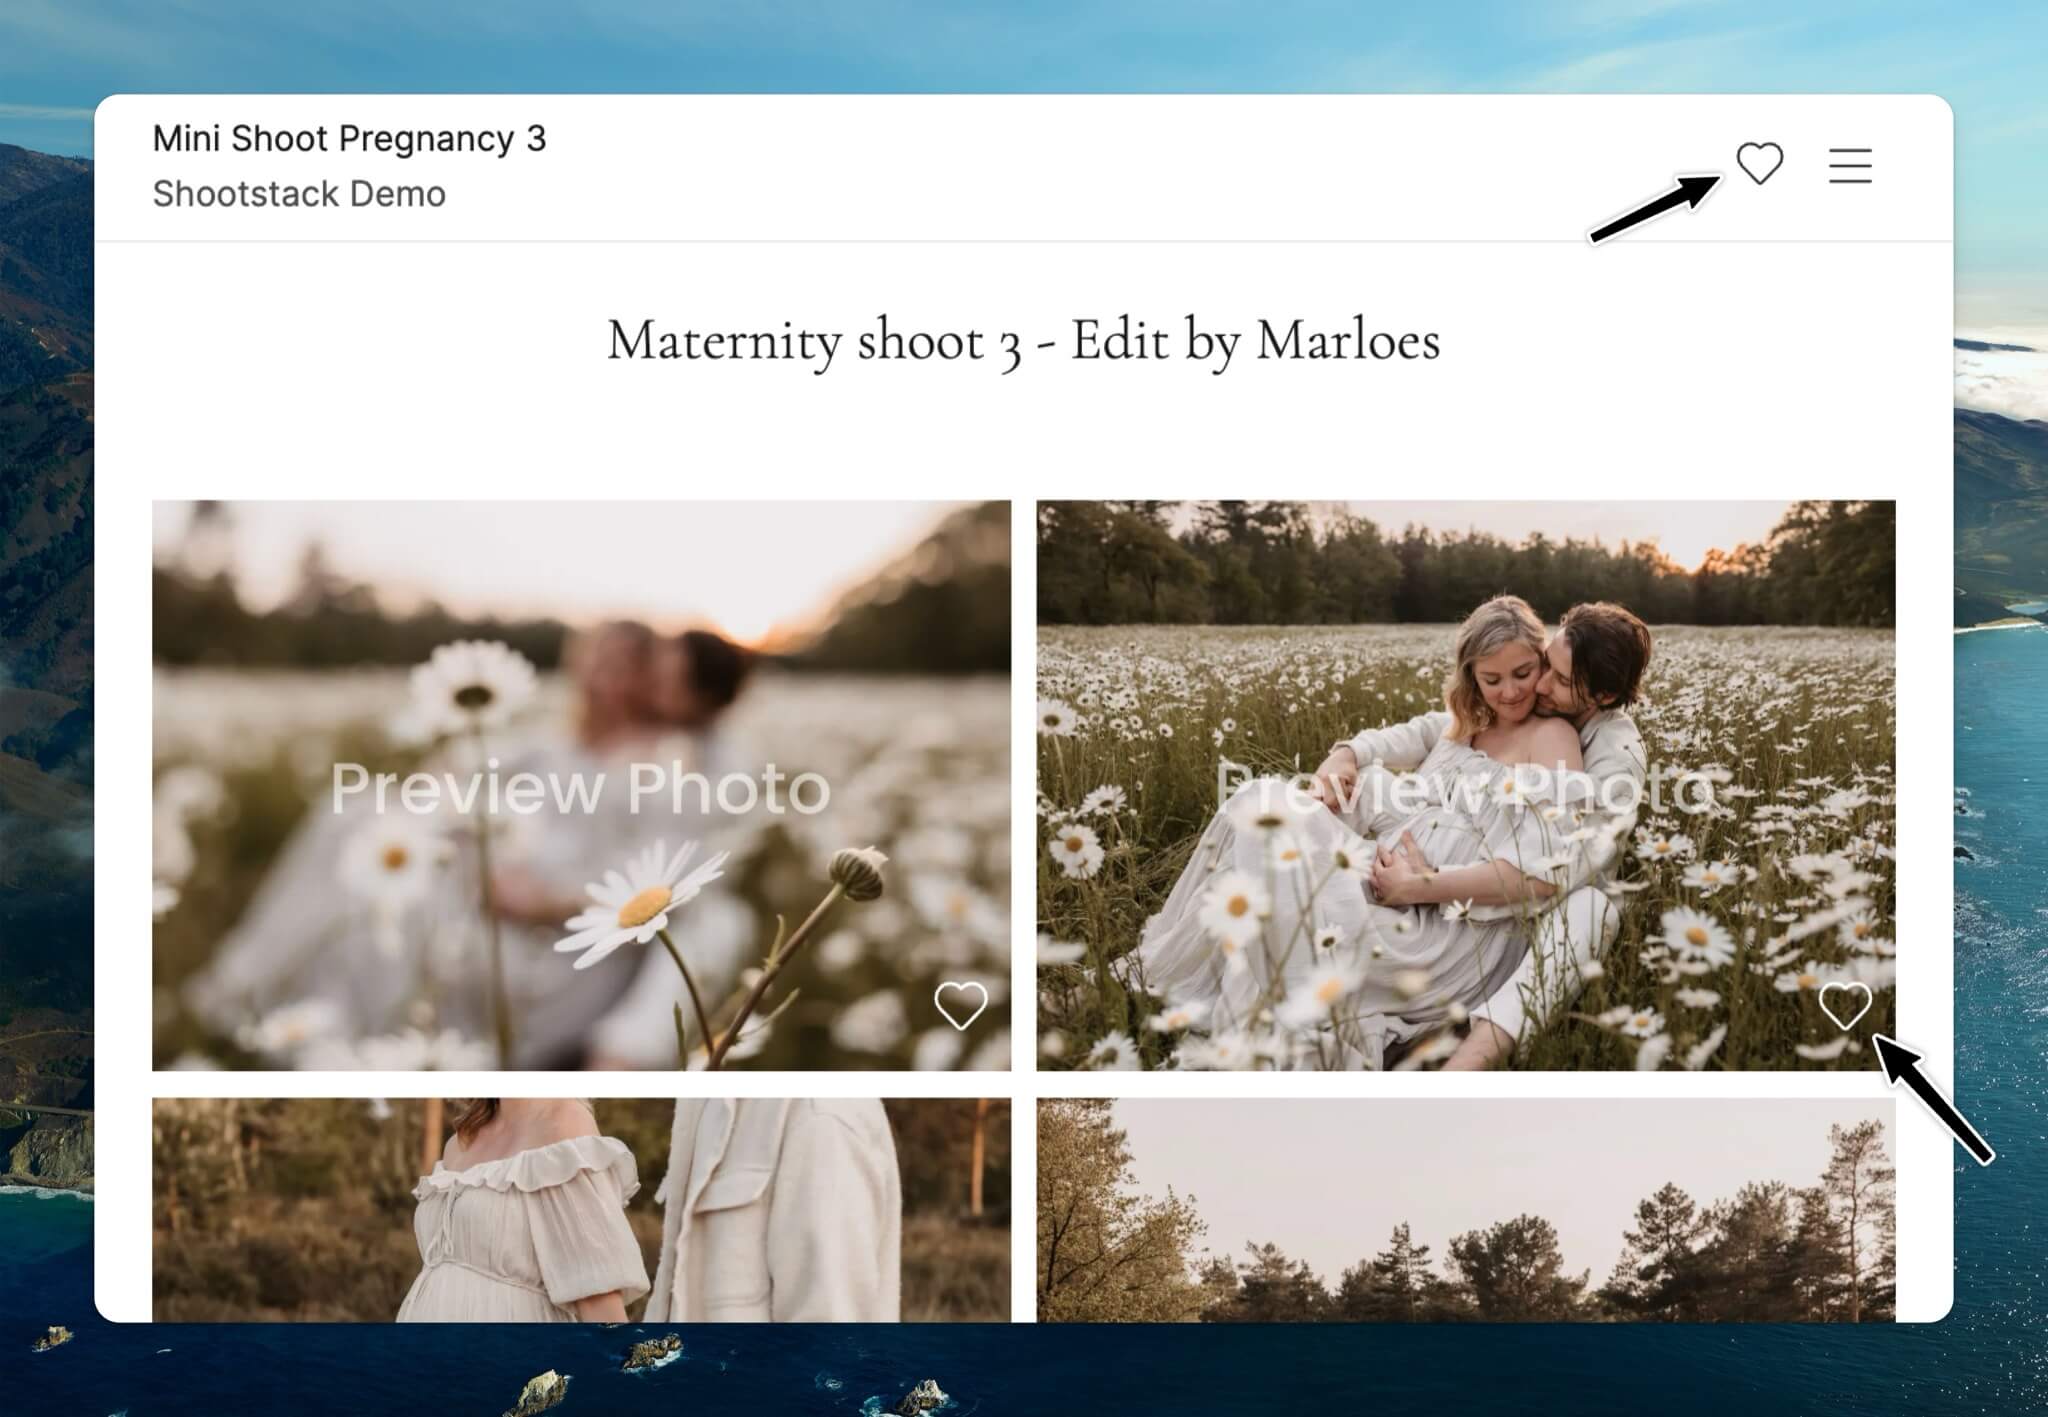
For mini shoot days, it’s common to work with a favorite proofing workflow. This allows your clients to select all the photos they like and you can easily upsell additional photos.
For example, if there are 5 photos included in the mini shoot and they choose 5 extra photos, you can send them an additional invoice for those extras images.
View favorietes
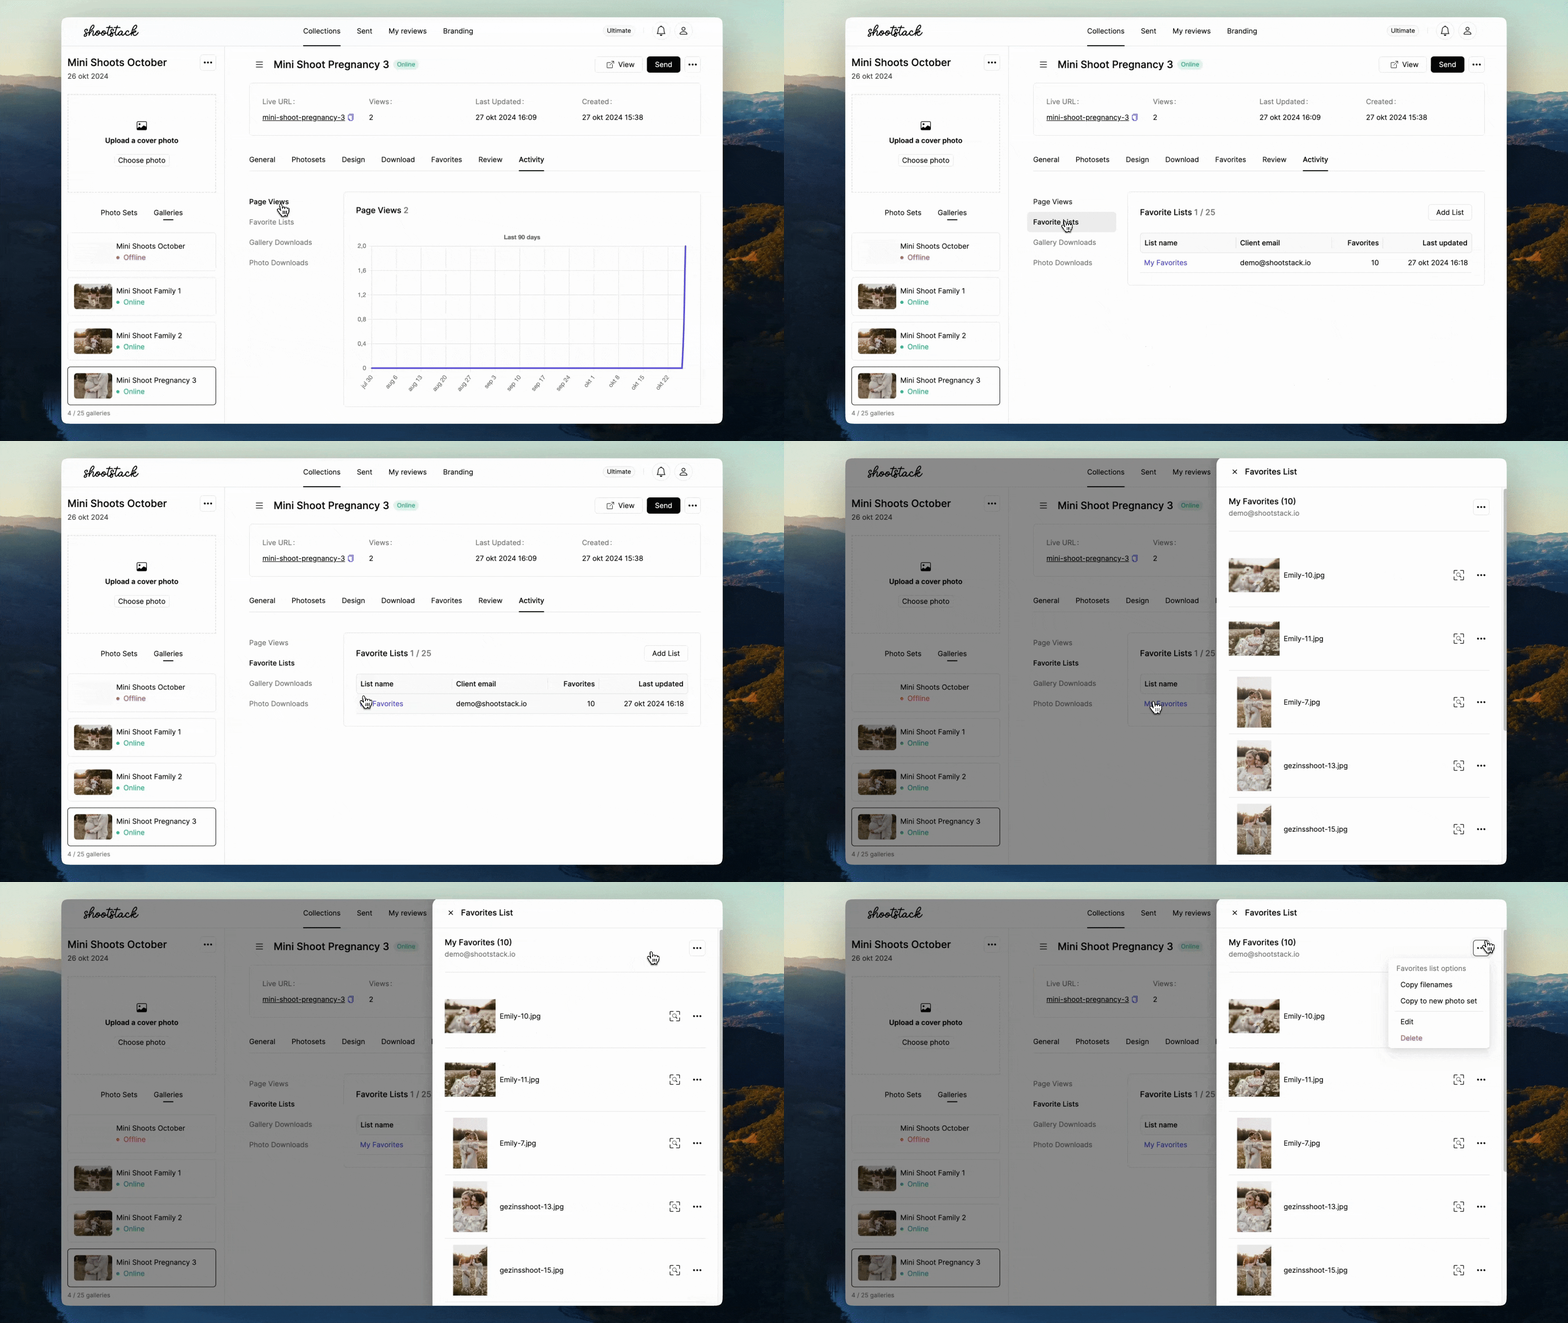
Once your clients finish selecting their photos, you can view their choices in the Activities tab of their gallery. To receive a notification when they’re done, let them know to click the Share Favorites button in their favorites list.
From there, you can either copy the favorite photos to a new photo set or edit them first in Lightroom.
To learn more about the favorite proofing workflow, read this guide.
Photo set with final images
If you don't copy the favorite photos to a new photo set, you can manually add a new photo set and upload the final images there. Be sure to create a separate photo set for each client with their final images. Name the photo set for example: Selected Photos [Client Name].
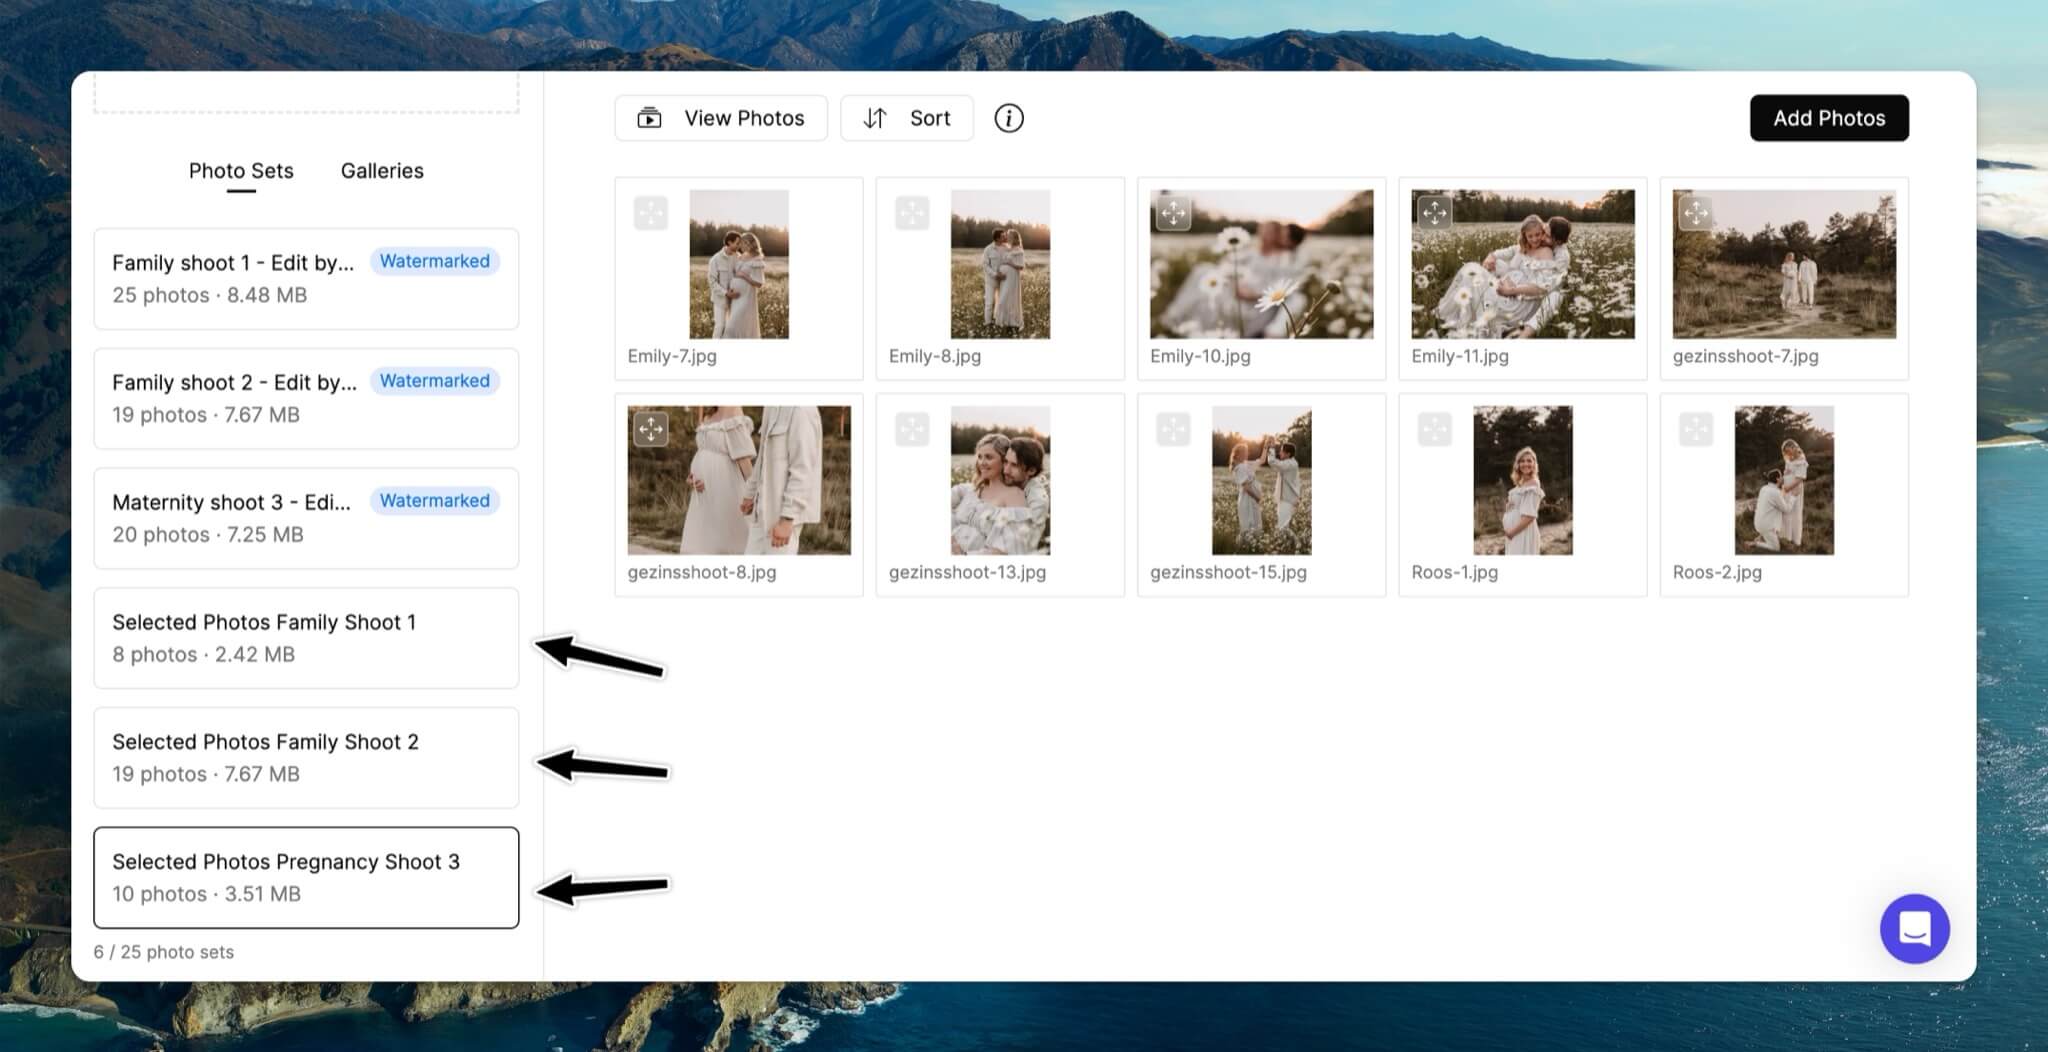
Create the final gallery
Next, go to the Galleries and click on the Photo Sets tab to add the final photo set. You can choose to remove the preview photo set or keep it for clients who may want to pick additional photos later. Just make sure the final photo set is at the top.

Other settings to check:
Check the
designand ensure the correct cover photo is selected.Turn on
downloads, so your clients can download their photos.Enable
reviews, allowing clients to leave feedback.
Now you can send the final gallery to all your mini shoot clients.

