Wedding Photographers
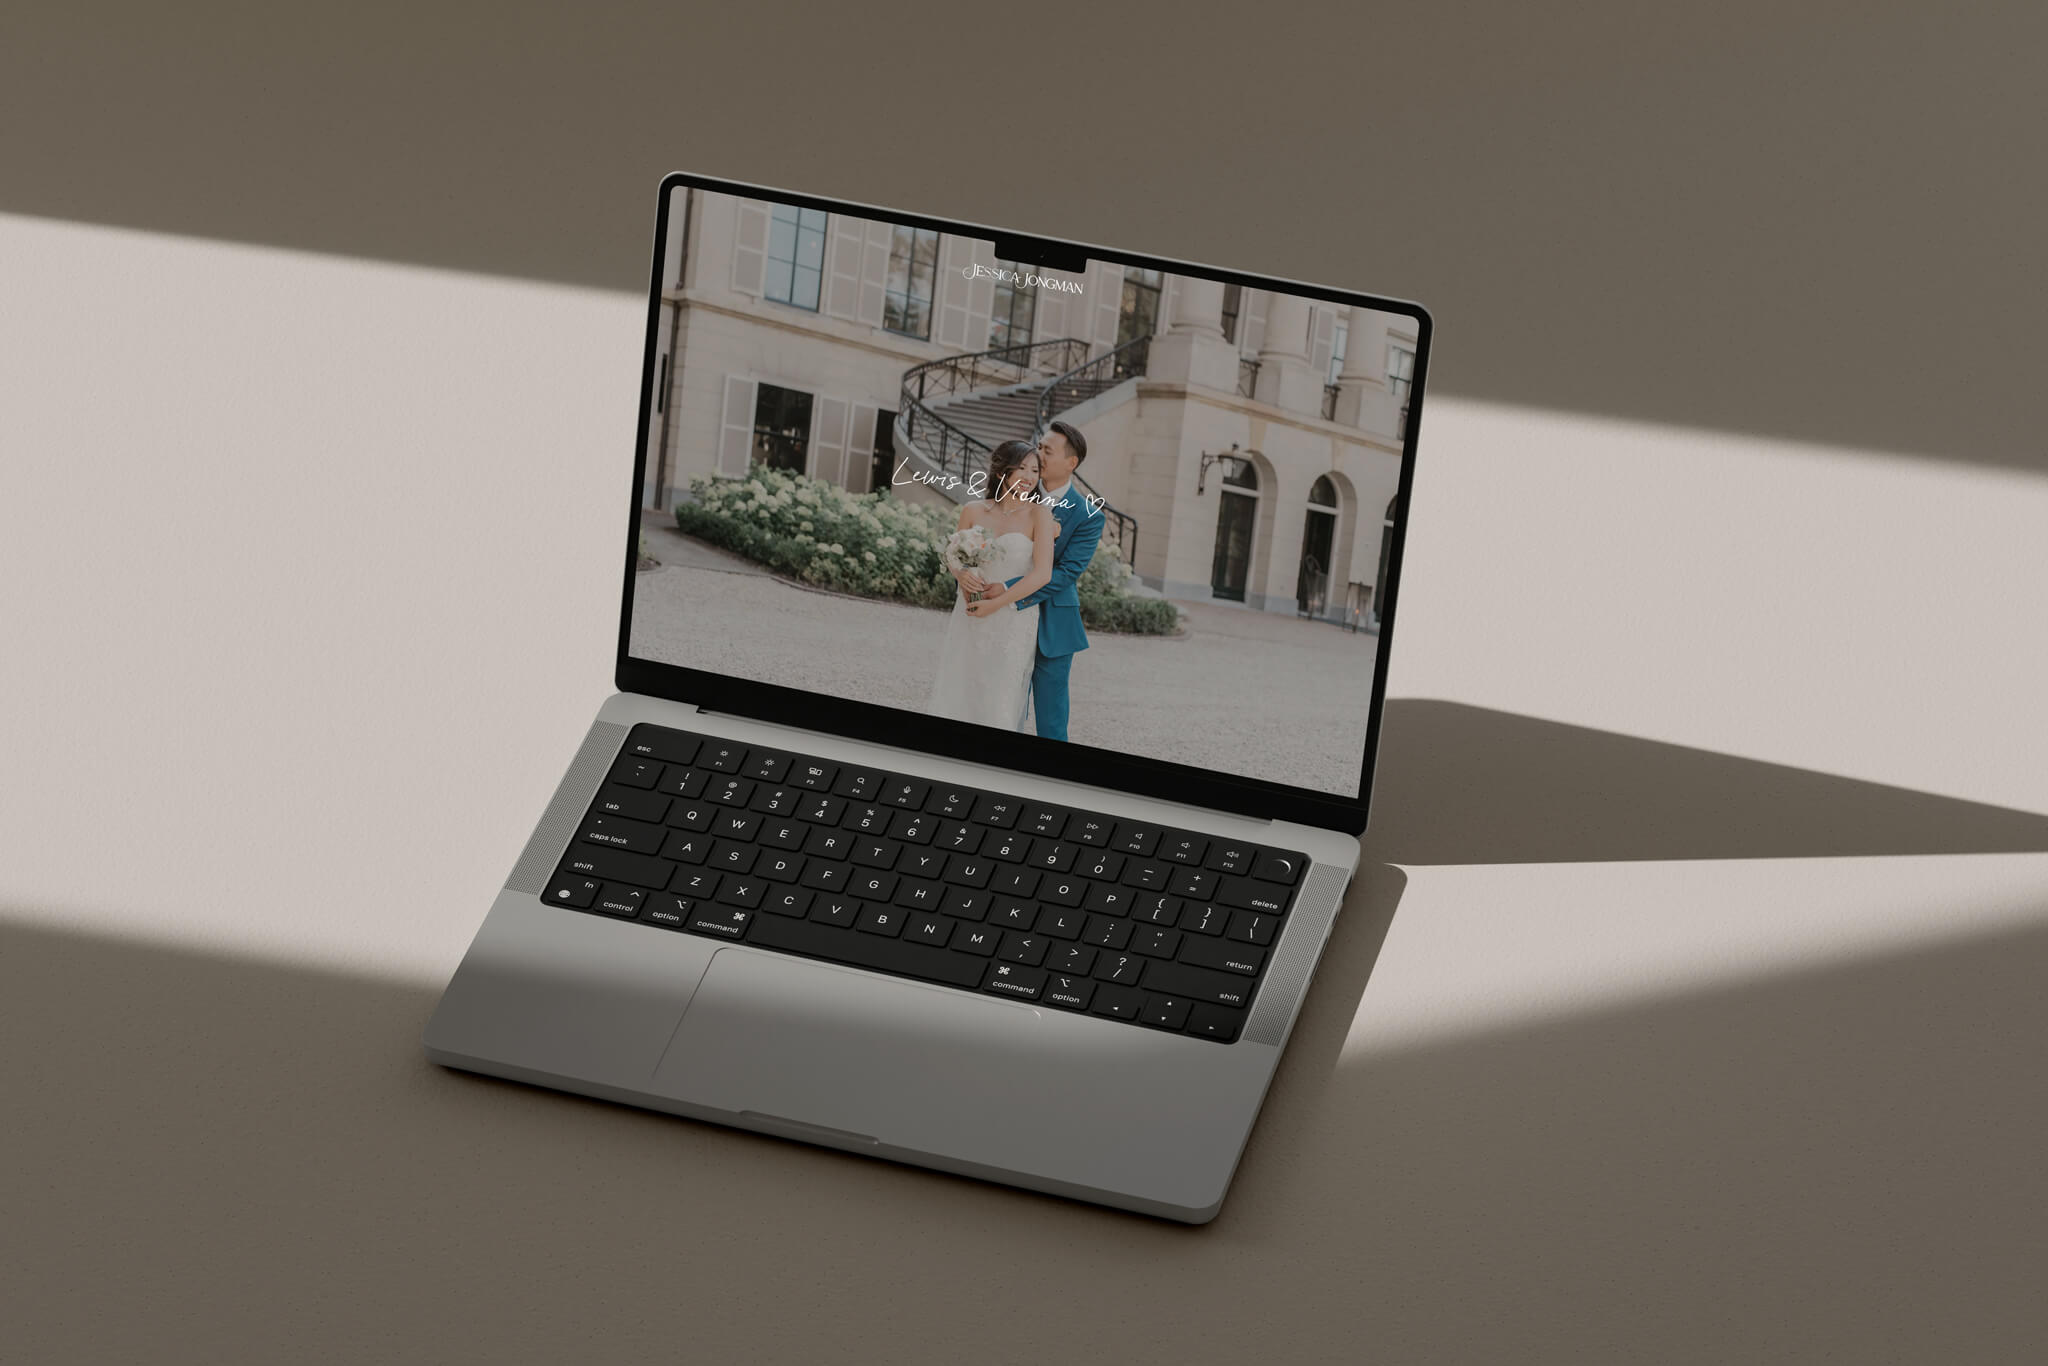
Create organized wedding galleries that offer a beautiful experience for your clients, vendors, and family members.
Related
With Shootstack, you can create beautiful wedding galleries that help your clients relive their special day. This guide will show you how to establish an efficient workflow to share photos quickly with clients and vendors.
A photo sets for every moment
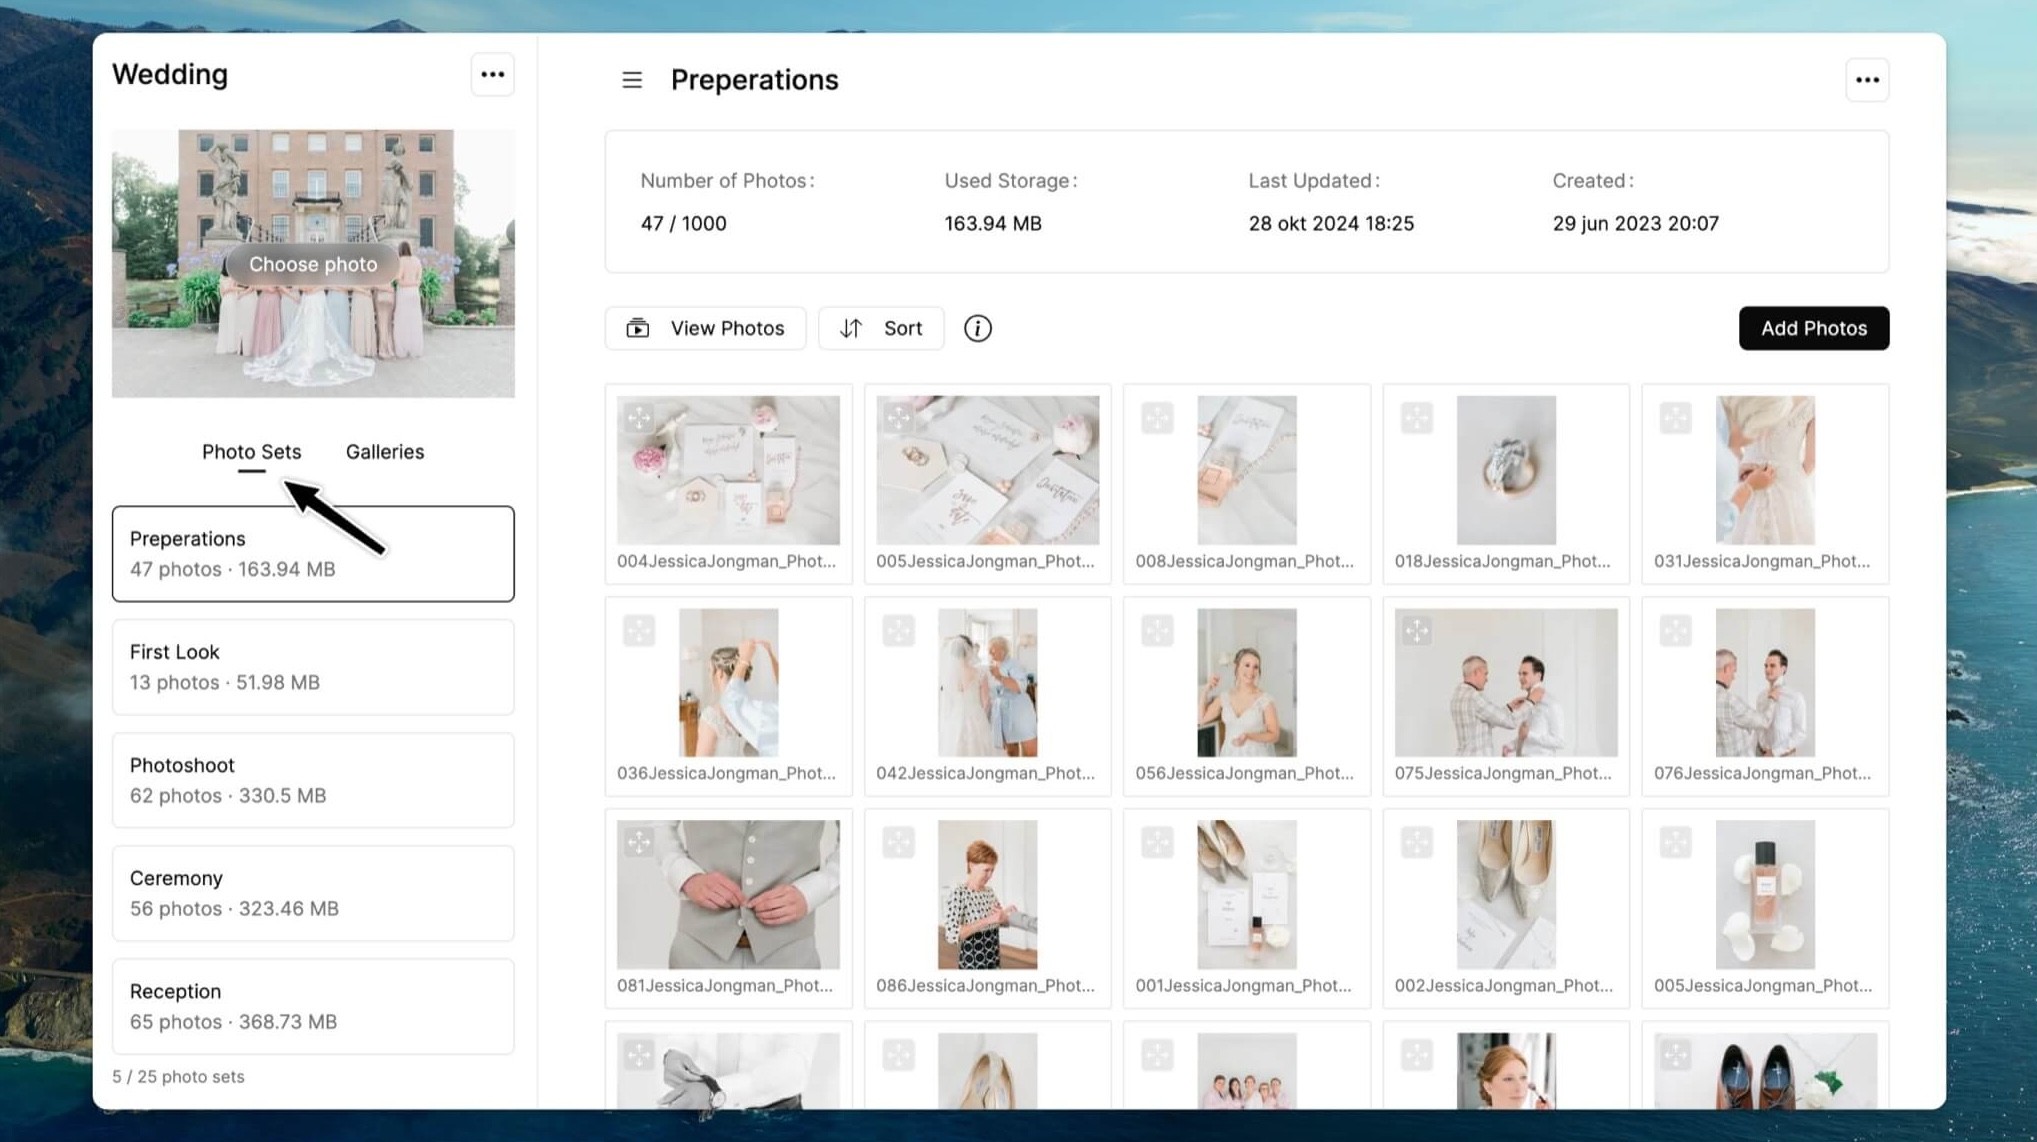
Start by creating a new collection for your wedding clients. Add multiple photo sets for each significant moment, like Getting Ready, Ceremony, and Reception. This organized approach allows clients to enjoy their memories without feeling overwhelmed by too many images.

Here are some other examples of photo sets you can include in your wedding gallery:
Sneak peek photo set: Include a sneak peek photo set where you can upload a few stunning images shortly after the wedding. This gives clients an exciting preview while the final edits are underway.
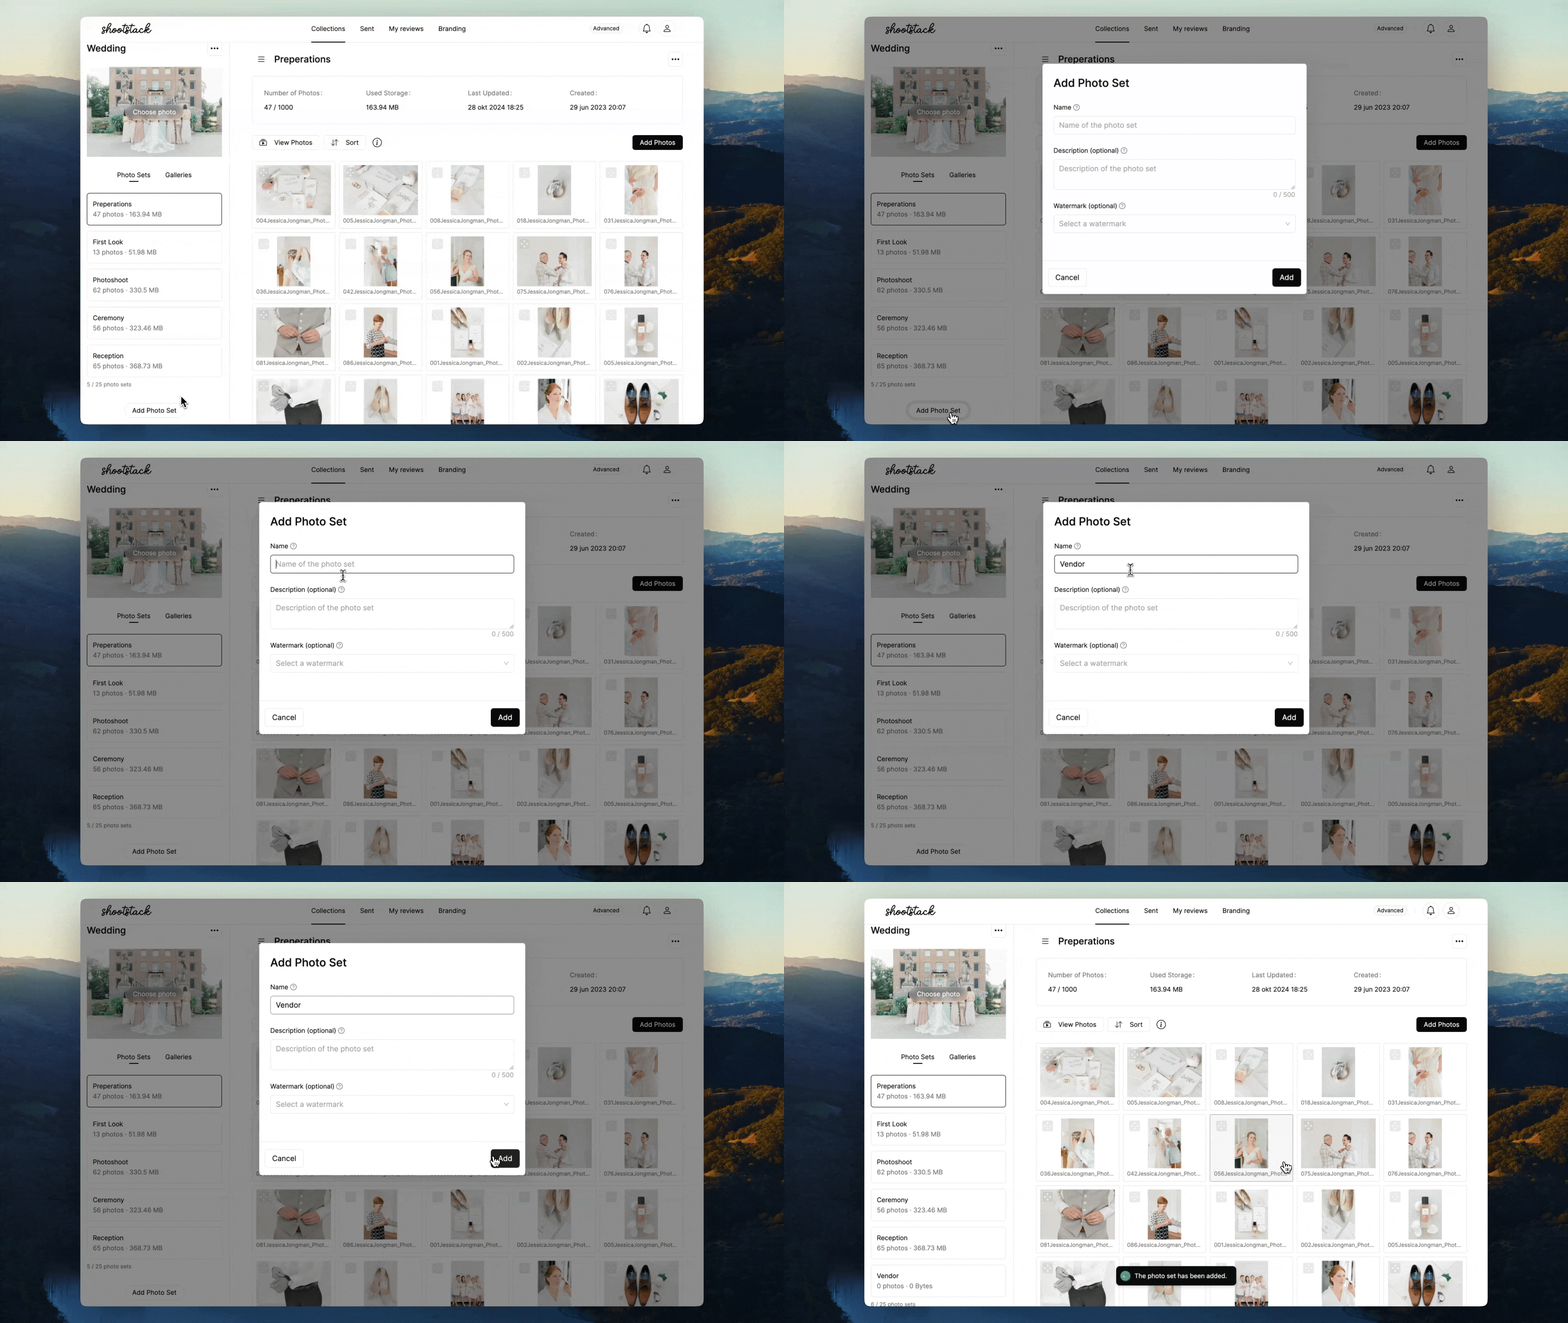
Vendor photo set: Create a photo set specifically for vendors involved in the wedding. You can choose one general set or separate ones for each vendor, ensuring they receive their highlights.

Create a gallery
Next, you can set up multiple galleries within this collection for your clients, vendors, or family members. To create a new gallery, click Add Gallery and enter a name. Once the gallery is created, select it to configure the settings.

Here are some examples of galleries you can create:
Sneak Peek Gallery
The sneak peek gallery features a selection of preview photos from the wedding, allowing your clients to get excited about the images of their big day. To create this gallery, click Add Gallery and name it for example: Sneak Peek Wedding [Names]. Then, in the Photosets tab, add the sneak peek photo set you created. Go through the remaining settings, check the design, enable downloads, and, if you prefer, you can enable reviews later when sending the final gallery.
Final Wedding Gallery
The final wedding gallery is where you showcase all the photo sets from the wedding day. To set this up, add a new gallery and name it, for example: Wedding [Names]. Click on the Photosets tab and add all relevant photo sets you wish to display in the final wedding gallery. Then, configure the gallery settings for delivery.
Ensure that downloads are enabled in both original and web sizes, and that reviews are turned on. You can also activate favorites and create a favorites album for your clients, making it easy for them to select their favorite photos for their album.
Share Gallery for Family
Create a dedicated gallery for family members, including group photos and reception moments. This way, personal photos remain private, and the couple can choose what to share. To create this gallery, click Add Gallery and name it for example: Share Gallery. Go to the Photosets tab and select the photo sets you want to show in this gallery.
To manage bandwidth, enable only web size downloads, and turn off the favorites option to avoid confusion. Send the link to this gallery directly to the couple, allowing them to share it if they wish.
By organizing your wedding collections into multiple photo sets and galleries, you can offer clients a beautiful and structured gallery, and also provide specific photos for vendors and family members.

